
Kirby Vacuum Brush Not Spinning – Belt Replacement Guide
Diagnose why your Kirby vacuum’s brush roller isn’t spinning and replace the belt if needed. Works for all Kirby models since they use the same universal belt design.
Difficulty: Easy
Estimated time: 15 minutes
Step 1
Tools Needed
-
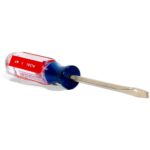
 Flat Screwdriver
Check if Belt is Broken
First, let's check if the belt is intact and properly engaged. With the vacuum unplugged, try to spin the brush roller by hand.
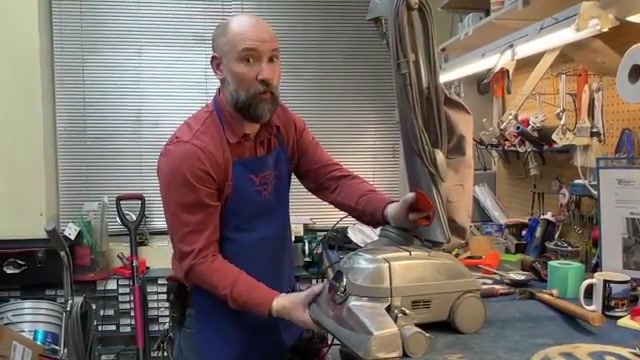
- Unplug the vacuum from the wall outlet.
- Turn the vacuum over so you can see the brush roller underneath.
- Try to spin the brush roller backwards (toward the back of the machine) with your hand.
Tools Needed
-
Flat Screwdriver
Replace the Belt
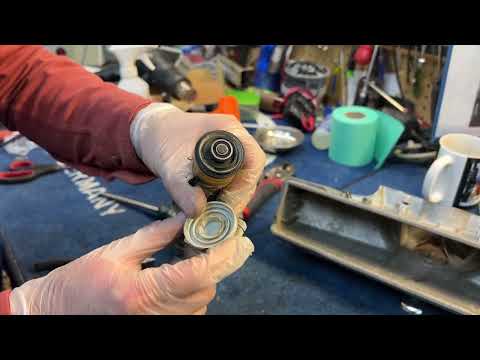
The belt is broken or missing. We'll remove the old belt (if present) and install a new one.
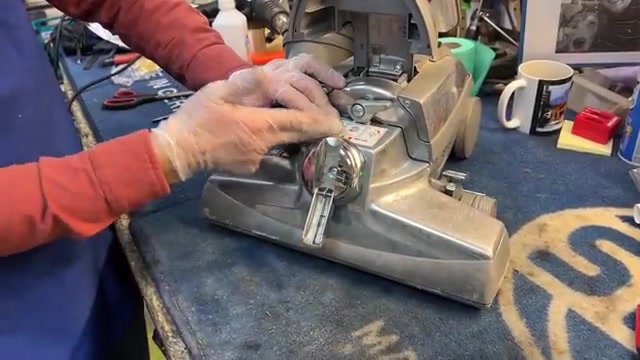
- Locate the belt lifter (red knob on the side of the vacuum head).
- Turn the belt lifter clockwise to lift any remaining belt off the motor shaft.
- Press the lock lever on the side of the vacuum head to release it.
- Lift the entire vacuum head off the motor unit and set it aside.
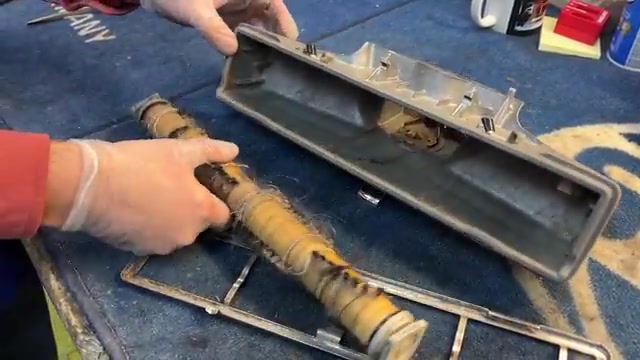
- Turn the vacuum head upside down.
- Unhook the two metal clips holding the base plate (they may be tight – use a flat screwdriver if needed).
- Remove the base plate.
- Pull the brush roller straight out from both ends (may need gentle prying with screwdriver if stuck).
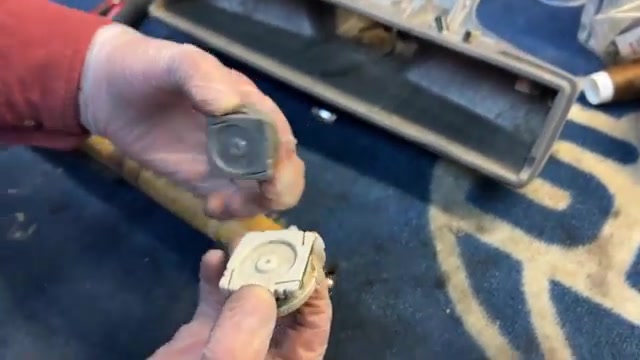
- Remove any remaining belt pieces from the brush roller.
- Clean hair and debris from the brush roller.
- Pop off both end caps from the brush roller and clean out any debris inside.
- Reinstall the end caps – ensure the larger cap goes on the side with the silver magnet.
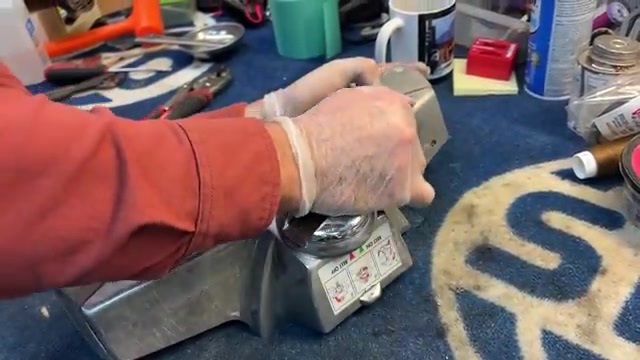
- Place the new belt around the center of the brush roller.
- Reinstall the brush roller with belt into the vacuum head.
- Replace the base plate and secure both metal clips.
- Turn the belt lifter clockwise again until you feel tension and see the hook catch the belt.
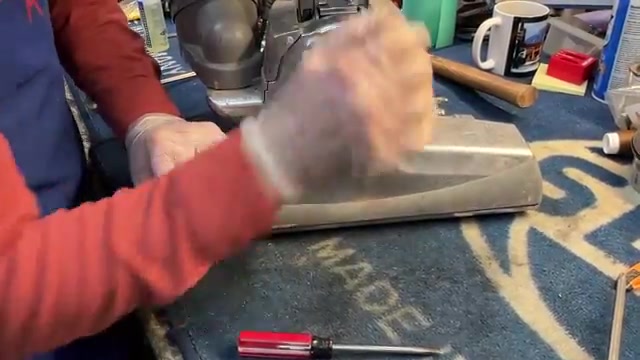
- Line up the vacuum head with the motor unit.
- Hook the two metal hooks on the vacuum head onto the pegs on the motor unit.
- Press down and lock the head in place with the lock lever.
- Turn the belt lifter counter-clockwise to drop the belt onto the motor shaft.
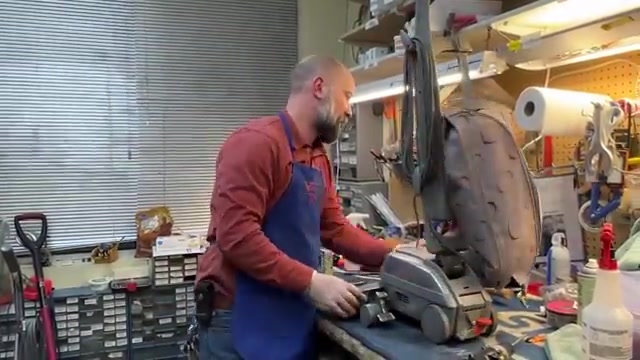
- With the vacuum still unplugged, turn it over.
- Spin the brush roller backwards by hand – you should now feel resistance from the belt.
- Plug in the vacuum and turn it on briefly to test.
Recommended Products

Tools Needed
-
Flat Screwdriver
Issue Resolved
Great! Your Kirby vacuum's brush roller is now spinning properly. The new belt should last several months with regular use.
Tools Needed
-
Flat Screwdriver
Check Belt Installation
The belt may not be properly seated. Let's verify the installation.
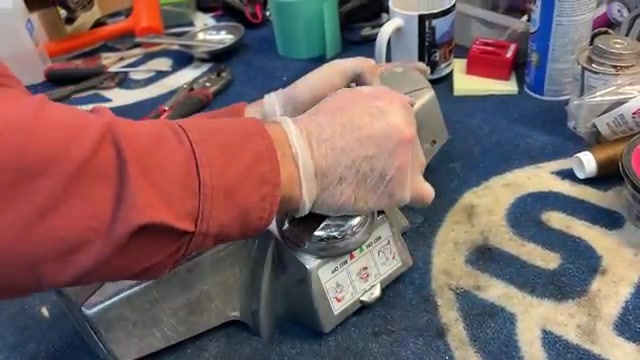
- Turn off and unplug the vacuum.
- Turn the belt lifter clockwise to lift the belt.
- Unlock and remove the vacuum head again.
- Check that the belt is centered on the brush roller and not twisted.
- Verify the brush roller end caps are fully seated (large cap on magnet side).
- Reassemble following the previous steps, ensuring the belt lifter hook catches the belt before reattaching the head.
Tools Needed
-
Flat Screwdriver
Issue Resolved
Perfect! The belt was just improperly seated. Your Kirby vacuum's brush roller should now be working normally.
Tools Needed
-
Flat Screwdriver
Check for Obstructions
The brush has resistance, so the belt may be intact but something is preventing rotation. Let's check for blockages.
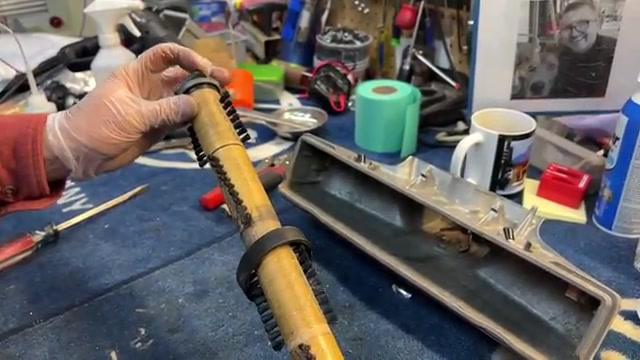
- With the vacuum unplugged, turn it over to access the brush roller.
- Look for any visible obstructions like string, thread, or hair wrapped tightly around the brush roller ends.
- Check if the height adjustment is set too low (causing the brush to jam against the floor).
- Adjust the height setting to position 2 or 3 if it's currently at 1.
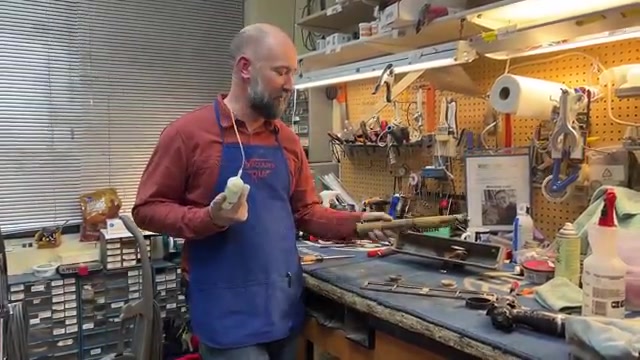
- If you see wrapped debris, follow the belt replacement steps to remove the brush roller.
- Clean all hair and string from the brush roller and end caps.
- Reinstall the brush roller and test by spinning it by hand.
Tools Needed
-
Flat Screwdriver
Professional Service Needed
The issue appears to be with the motor or internal components beyond the belt and brush roller. Review the previous steps to ensure nothing was missed, or bring your Kirby to a vacuum repair shop for professional diagnosis.