
Shark Duo Clean Brush Not Spinning – Belt Replacement
Troubleshoot and fix a non-spinning brush roll on your Shark Duo Clean vacuum by replacing the drive belt
Difficulty: Medium
Estimated time: 15 minutes
Step 1
Tools Needed
-
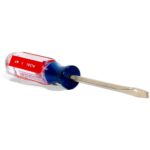
 Flat Screwdriver
 -
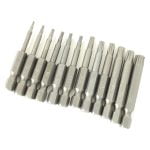
T10 Torx security bit
Initial Diagnosis
Before starting the repair, let's check if the belt is the issue. Turn your vacuum over and manually spin the brush roll. Does it spin freely without resistance?
Tools Needed
-
Flat Screwdriver
-
T10 Torx security bit
Remove Brush Housing Cover
The brush spins freely, so we'll replace the belt. First, remove the brush housing to access the belt.
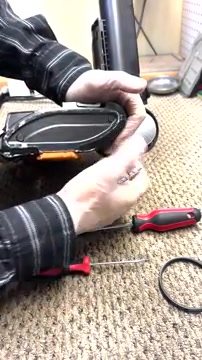
- Unclip and remove the front cover plate from the vacuum head.
- Use a small flathead screwdriver to carefully pop off the two small caps on either side of the brush housing.
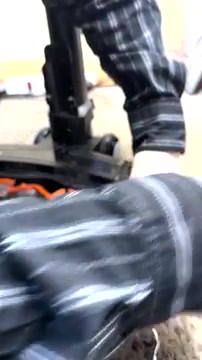
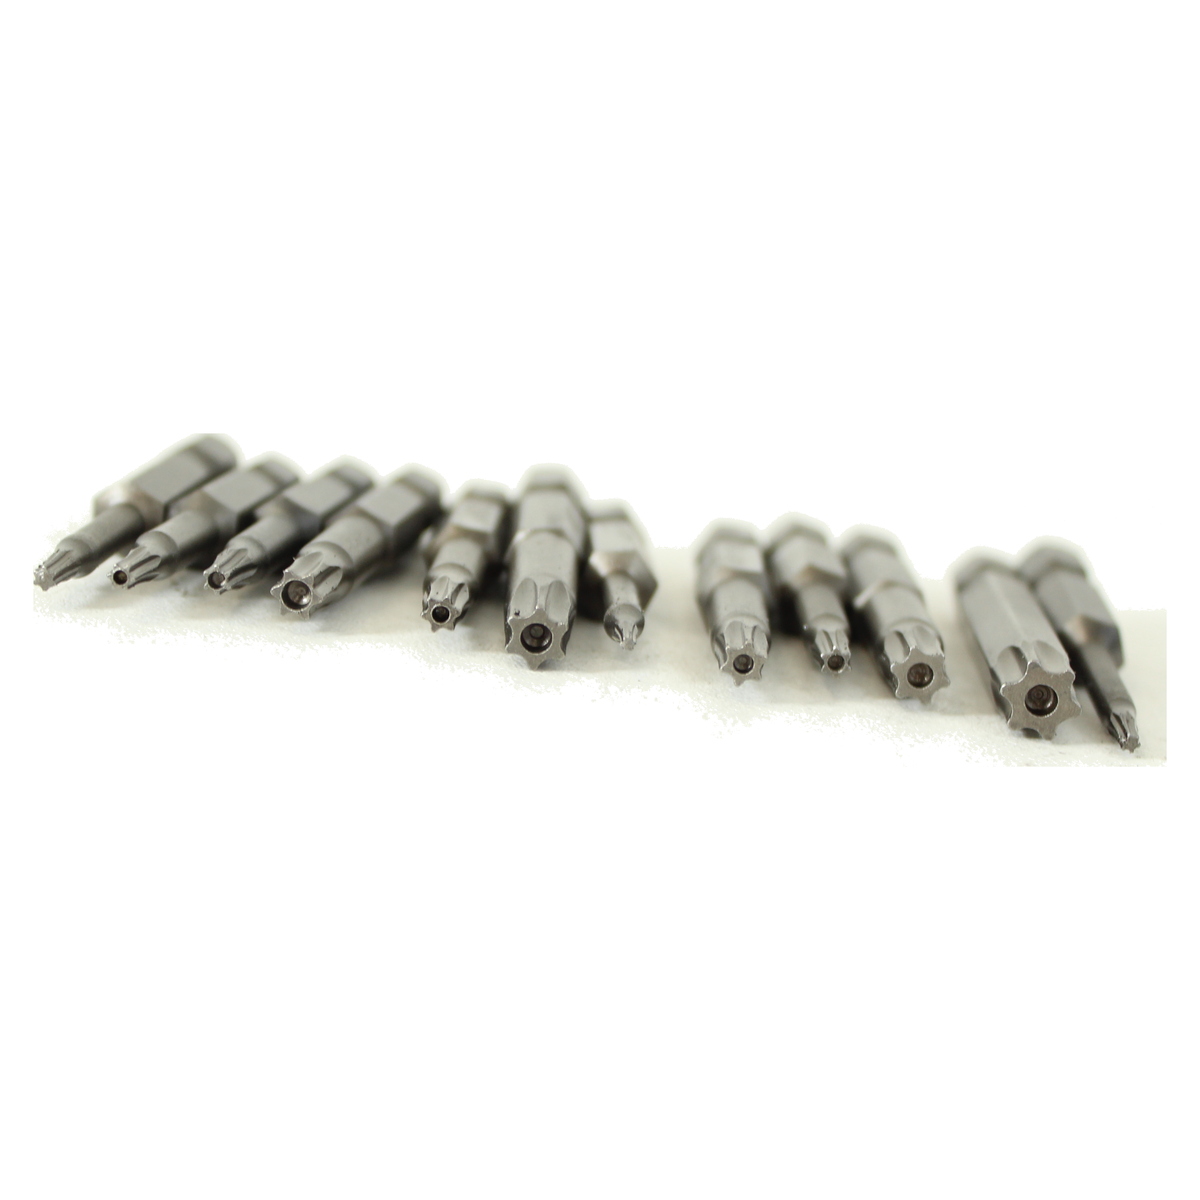
- Using a T10 Torx security bit, remove the two screws that were under the caps.
- On the left side of the vacuum head (the side that drives the main roller), pry up the housing and unclip it.
- Lift the left side of the brush housing away from the vacuum.
Recommended Products
Tools Needed
-
Flat Screwdriver
-
T10 Torx security bit
Replace the Belt
With the housing open, we'll install the new belt and reassemble everything.
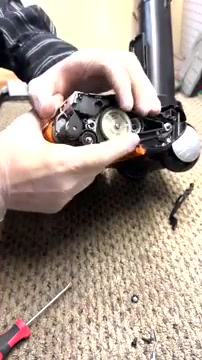
- Remove the old belt if still present.
- Take the new serpentine belt and slide it onto the motor shaft.
- Line up the belt with the grooves on the brush roll.
- Ease the belt fully onto both the motor shaft and brush roll.
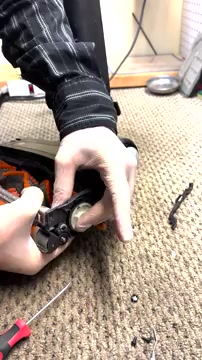
- Spin the brush roll manually several times to ensure the belt is fully seated.
- Check that the belt sits flat and even – if you see a lip, it's not fully seated.
- Once properly seated, the belt should sit flush in the grooves.
Recommended Products

Tools Needed
-
Flat Screwdriver
-
T10 Torx security bit
Reassemble and Test
Now we'll put everything back together and verify the repair worked.
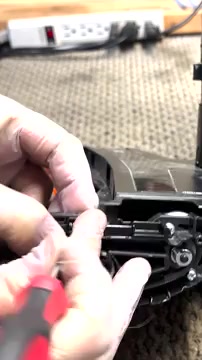
- If the brush housing release mechanism fell out, pull back its spring slightly.
- Insert the release mechanism, ensuring the spring is stretched back and the piece is properly seated.
- If the wheel fell out during disassembly, simply place it back in its slot.
- Slide the release mechanism forward to prepare for clipping.
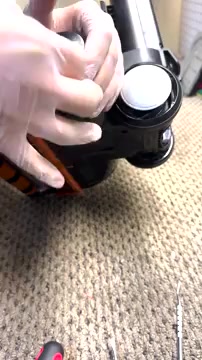
- Clip the left side of the brush housing back into place.
- Using the T10 Torx bit, reinstall the two screws.
- Press the two small caps back into place over the screws.
- Reinstall the front cover plate, ensuring it clicks into place.
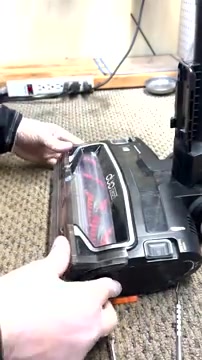
- Plug in the vacuum and turn it on.
- Check that the brush roll spins when the vacuum is running.
- Test on a small carpeted area to confirm proper operation.
Recommended Products
Tools Needed
-
Flat Screwdriver
-
T10 Torx security bit
Issue Resolved
Great! Your vacuum's brush roll is spinning again. The belt replacement was successful. Run the vacuum for a few minutes on carpet to ensure everything is working properly.
Tools Needed
-
Flat Screwdriver
-
T10 Torx security bit
Brush Roll May Be Melted
Check if your brush roll shows signs of melting or damage. Look for warped plastic, melted bristles, or areas where the brush has fused to the housing. Unfortunately, if the brush roll is melted, replacement brush rolls are typically not available from Shark and the vacuum may not be repairable.
Tools Needed
-
Flat Screwdriver
-
T10 Torx security bit
Professional Service Recommended
This repair requires confidence with tools and disassembly. If you're unable to complete any step, reassemble what you can and take the vacuum to an authorized repair shop. Note that many shops won't accept partially disassembled machines, so consider professional service before proceeding further.