
Dyson V10/V11 Won’t Turn On – Trigger Replacement
Diagnose and replace a faulty trigger switch on Dyson V10/V11 vacuum cleaners when the unit won’t turn on
Difficulty: Hard
Estimated time: 30 minutes
Step 1
Tools Needed
-
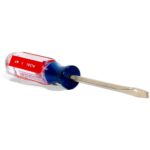
 Flat Screwdriver
 -
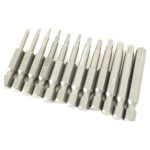
T8 Torx security bit
-
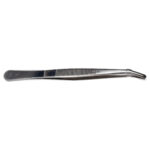
Tweezers
Check the Trigger
First, let's determine if the trigger switch is the problem. Press the trigger on your Dyson vacuum. Does it feel loose, floppy, or does it not spring back properly?
Tools Needed
-
Flat Screwdriver
-
T8 Torx security bit
-
Tweezers
Disassemble the Vacuum
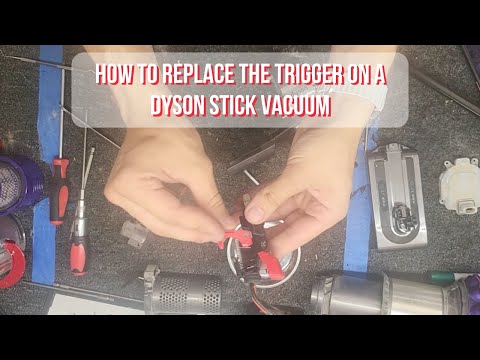
The trigger needs replacement. We'll disassemble the vacuum to access it. Work carefully as these screws can strip easily.
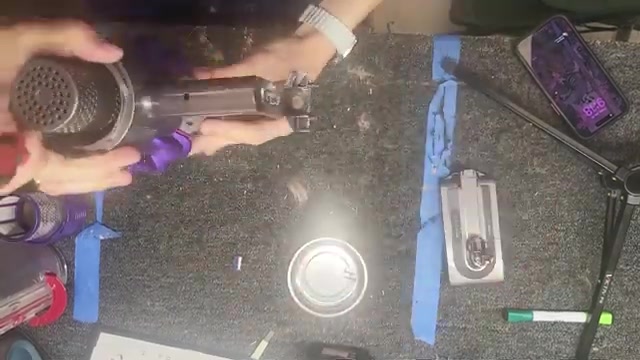
- Remove the dustbin from the vacuum.
- Remove the battery by unscrewing 3 screws: one on each side and one in the back.
- Set the battery aside.
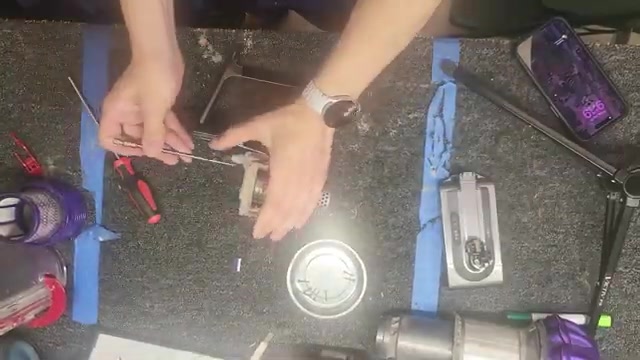
- Remove the cyclone assembly by unscrewing 6 screws: 4 on top and 2 in the back.
- Lift the cyclone assembly away from the main body.
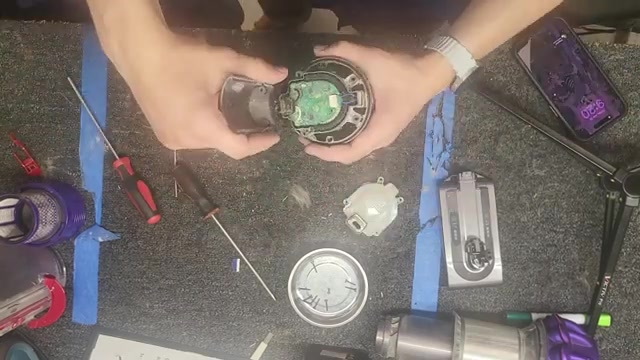
- Using the T8 Torx bit, remove the 2 screws on the motor mount.
- Hold the motor steady while using a flathead screwdriver to pop open the housing on both sides.
- Push down until it clicks – this is normal.
Recommended Products
Tools Needed
-
Flat Screwdriver
-
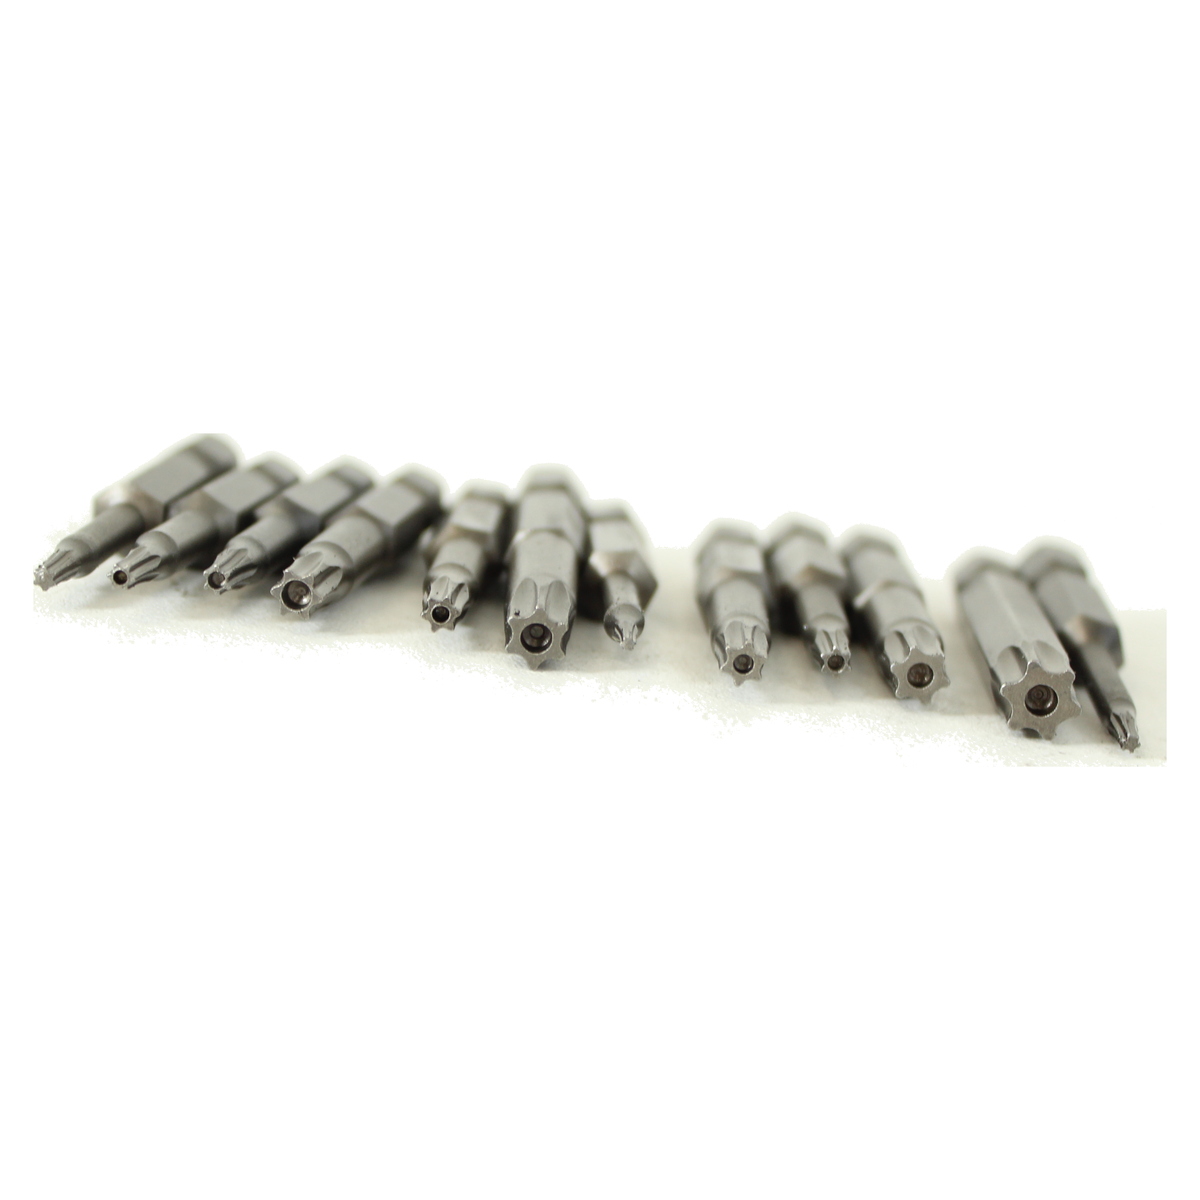
T8 Torx security bit
-
Tweezers
Remove Motor and Access Trigger
Now we'll remove the motor to access the trigger mechanism.
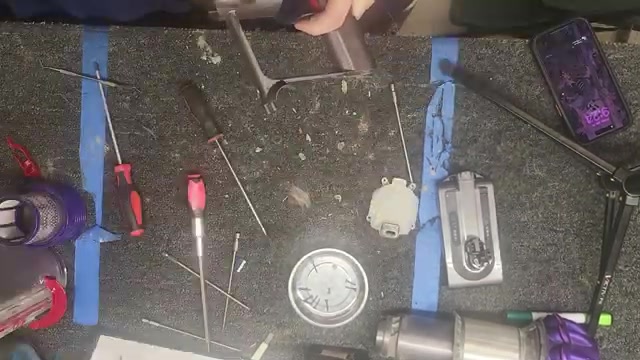
- Peel off any glue covering the PCB board – this protective layer isn't essential.
- Carefully lift the thin wires coming from the PCB.
- Remove the 2 main motor power screws using the T8 bit – be very careful not to strip these.
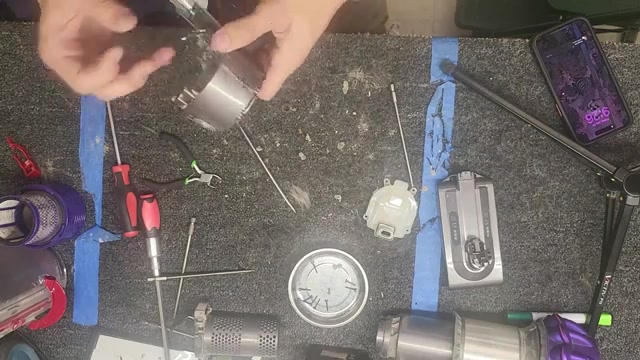
- Using tweezers or wire bending pliers, carefully bend the motor connection pins outward – do not pinch them down.
- Slide the motor out of the housing.
- Remove the 2 inner screws holding the trigger assembly.
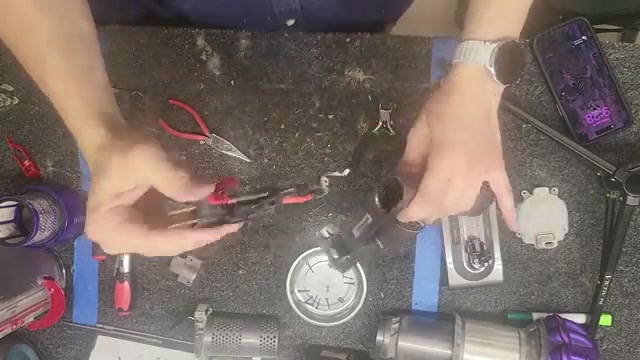
- Pop up the trigger assembly housing.
- Flip the vacuum over and remove the single screw on the back – be very gentle as this mounting point can crack.
- Give the assembly a push and slide out the broken trigger.
Tools Needed
-
Flat Screwdriver
-
T8 Torx security bit
-
Tweezers
Install New Trigger and Reassemble
Install the new trigger and reassemble the vacuum in reverse order.
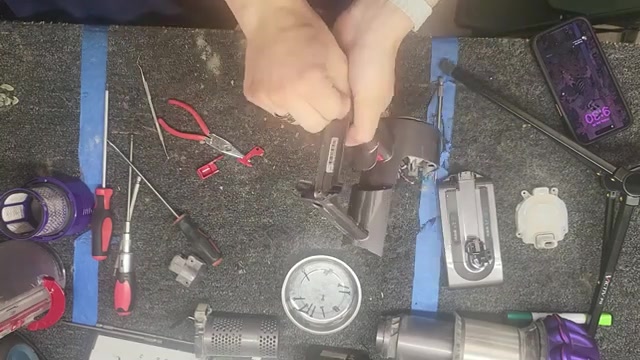
- Insert the new trigger switch into position.
- Test that it moves freely and springs back properly.
- Slide the trigger assembly back into the housing.
- Pull gently to secure the rubber washer.
- Replace the single screw on the back.
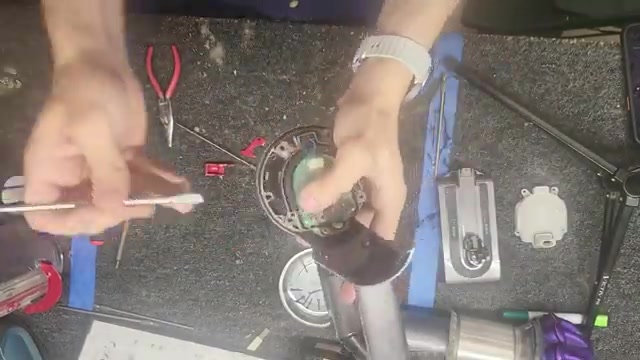
- Slide the trigger housing back together.
- Replace the 2 inner screws.
- Carefully slide the motor back in, ensuring not to pinch any wires.
- Bend the motor connection pins back to their original position.
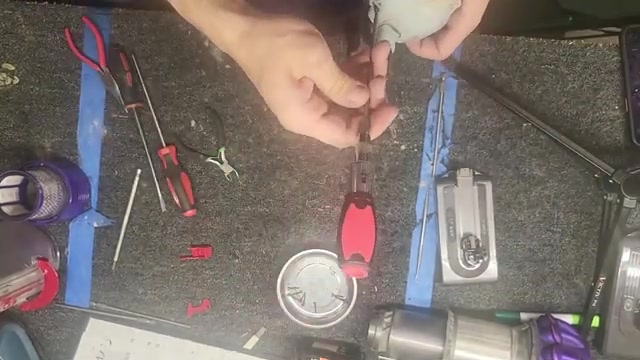
- Replace the 2 main motor power screws – push wires aside to prevent contact.
- Click the housing closed.
- Replace the 2 motor mount screws.
- Give the motor a gentle pull to ensure pins are secure.
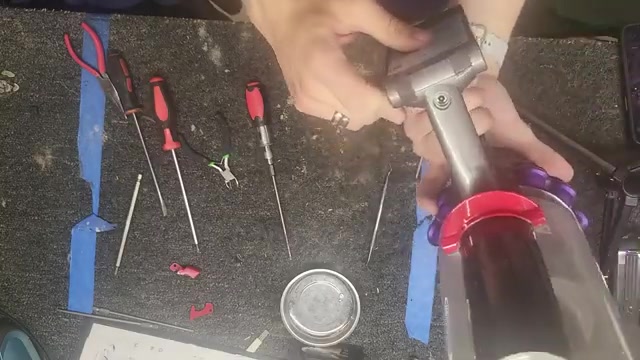
- Replace the cyclone assembly with its 6 screws (4 top, 2 back) – do not overtighten.
- Replace the battery with its 3 screws.
- Replace the filter and dustbin.
- Plug in the vacuum to charge if needed.
- Press the trigger – the unit should now turn on and the charging light should blink when plugged in.
Recommended Products

Tools Needed
-
Flat Screwdriver
-
T8 Torx security bit
-
Tweezers
Issue Resolved
Great! Your Dyson vacuum is working again. The trigger replacement was successful and your unit should now function normally.
Tools Needed
-
Flat Screwdriver
-
T8 Torx security bit
-
Tweezers
Battery or Motor Issue
Since the trigger feels normal or replacement didn't fix the issue, the problem is likely a bad battery or faulty motor. The battery is the more common failure. Consider replacing the battery first, or bring the unit to an authorized repair shop for professional diagnosis.
Tools Needed
-
Flat Screwdriver
-
T8 Torx security bit
-
Tweezers
Professional Repair Needed
If screws have stripped or parts were damaged during disassembly, stop the repair immediately. The unit will need professional service. Many repair shops won't accept machines that have been partially disassembled, so it's important to bring it in as-is and explain what happened.