
Fix Dyson Canister Release Button
Repair a broken canister release button on Dyson full-size upright vacuums by replacing the upper trigger and/or lower actuator arm
Difficulty: Medium
Estimated time: 20 minutes
Step 1
Tools Needed
-
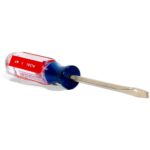
 Flat Screwdriver
 -
Straight pin or needle

Identify Which Part Failed
The canister release mechanism has two parts that commonly fail. Push the release button and observe what happens.
Tools Needed
-
Flat Screwdriver
-
Straight pin or needle
Replace Upper Trigger
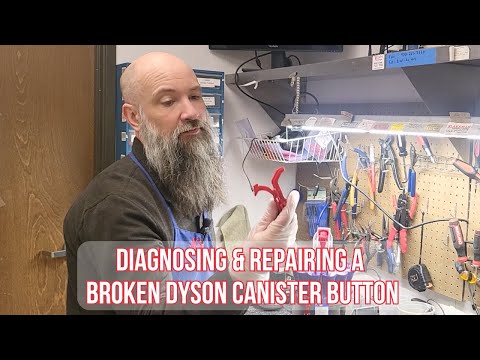
The upper trigger is the easier repair. We'll remove the upper assembly and swap the broken part.
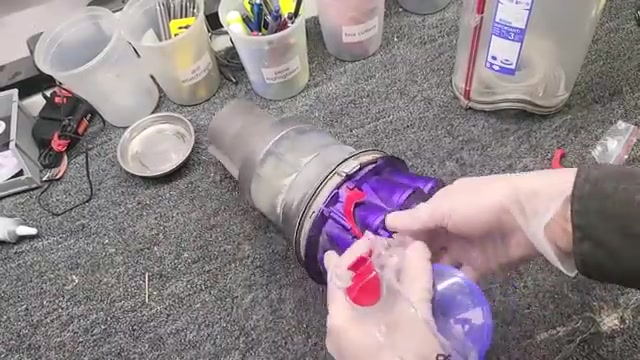
- Empty the canister and manually open the bottom lid.
- Press the gray button on the side to detach the lower canister.
- Open the top like you would to remove the filter.
- Pull out one of the two plastic clips holding the upper assembly.
- Lift off the entire upper assembly.
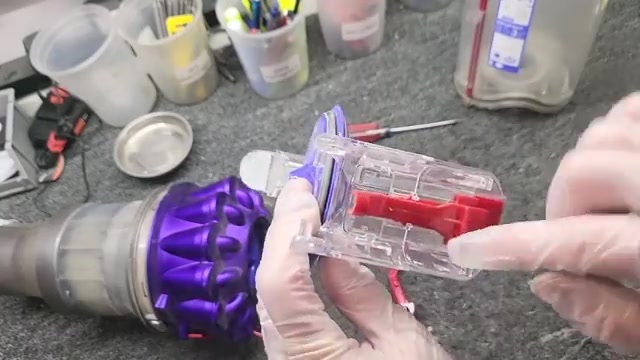
- Locate the springy teeth on both sides of the trigger mechanism.
- Use a screwdriver to depress one side's teeth while holding it down.
- Depress the teeth on the other side.
- Pull out the old trigger – note the two springs inside.
- Place the larger spring in the back position.
- Insert the new trigger piece on top of the spring until it clicks.
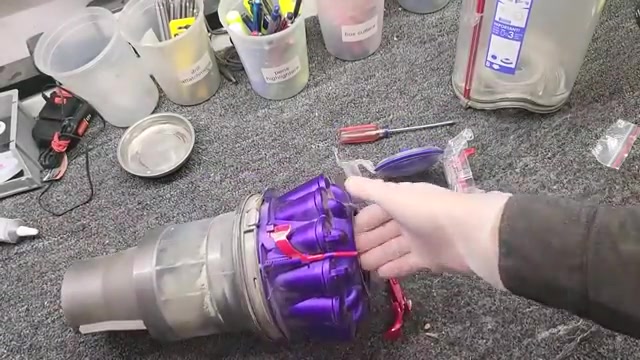
- Reinstall the upper assembly onto the canister.
- Snap the plastic clips back into place.
- Test the button – it should now release the lid properly.
Recommended Products

Tools Needed
-
Flat Screwdriver
-
Straight pin or needle
Replace Lower Actuator Arm
The lower actuator requires disassembling the canister. This is more complex but still manageable. Since you have the cyclone disassembled, also clean out years of built-up debris.
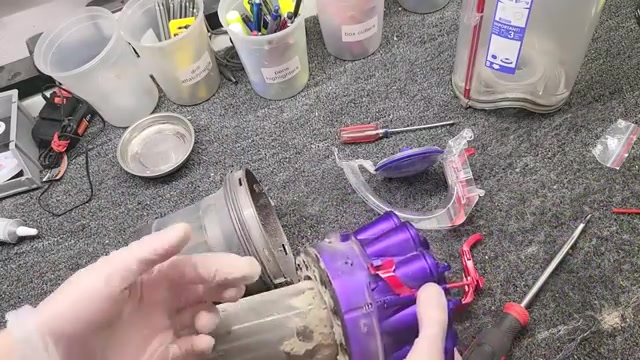
- Remove the upper assembly and lower canister as in the previous steps.
- Use a large flat screwdriver to carefully pop the tabs around the gray-purple junction.
- Work your way around, gently unhooking each tab without breaking the lip.
- Separate the gray bottom from the purple cyclone assembly.
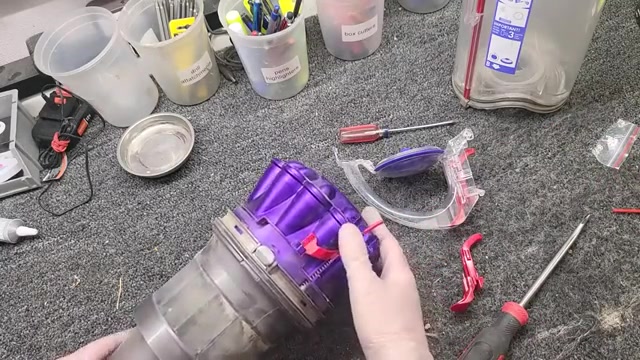
- Use a brush or compressed air to clean all internal surfaces of the cyclone.
- Clear out any debris that's been accumulating and blowing back into your home.
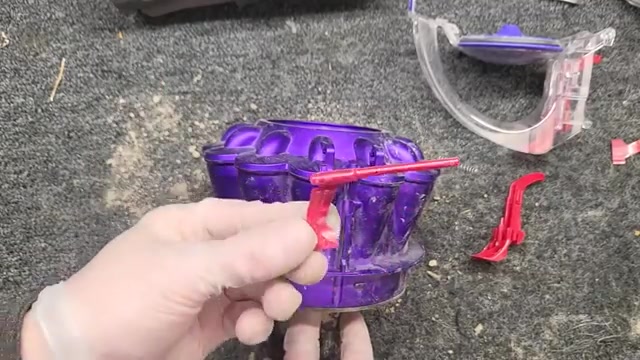
- Locate the red actuator arm with its spring.
- Pull the spring off – note it has connection points on both sides.
- Push the actuator down and pull it sideways to clear the cap.
- Use a screwdriver to slightly open the housing and remove the old actuator.
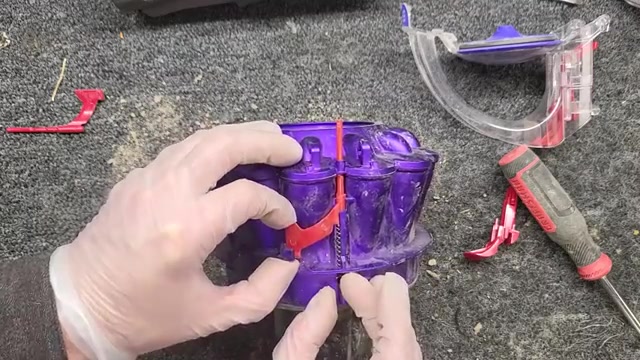
- Insert the new actuator by reversing the removal process.
- Push it up, slightly open the housing with a screwdriver, and slide it in.
- Bring it back down to slide under the lip, then push up again.
- Reinstall the spring with the pointed end going under the flap.
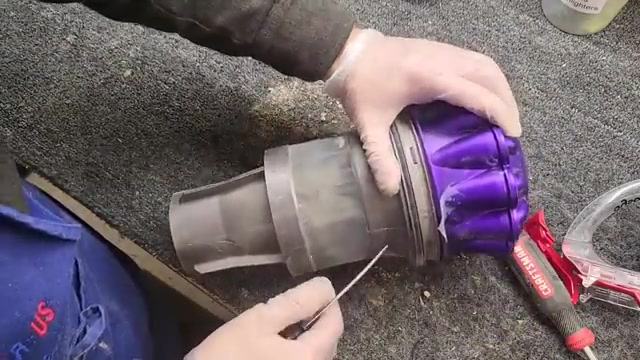
- Line up both springs – the large one on the actuator and small one on the gray clip.
- Use a pick to lift the small spring over the gasket lip as you bring parts together.
- Snap the back clips first, then work around to secure all tabs.
- Verify the gray button properly actuates the mechanism.
- Reassemble everything and test the complete button operation.
Recommended Products
Tools Needed
-
Flat Screwdriver
-
Straight pin or needle
Repair Complete
Your Dyson canister release button is now working properly. This repair saved you from replacing the entire cyclone assembly.
Tools Needed
-
Flat Screwdriver
-
Straight pin or needle
Further Assistance Needed
If the button still doesn't work after replacing both parts, there may be additional damage to the housing or mechanism. Consider having the unit serviced professionally or replacing the cyclone assembly.