
Dyson Ball Vacuum – No Suction Troubleshooting
Diagnose and fix suction loss in Dyson Ball vacuum cleaners (DC41, DC40, DC65, DC77, UP14, UP19, UP20 models). Find and clear clogs throughout the air pathway.
Difficulty: Medium
Estimated time: 20-30 minutes
Step 1
Tools Needed
-
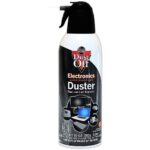
 Canned air (optional)
 - Dowel or long stick (not a coat hanger)
-
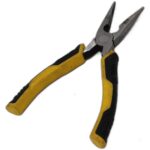
Needle-nose pliers
-
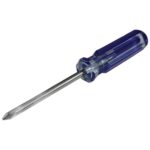
Phillips Screwdriver
Test Suction at the Wand
First, we’ll check if air is flowing through the wand when the vacuum is upright. This tells us where to look for the clog.
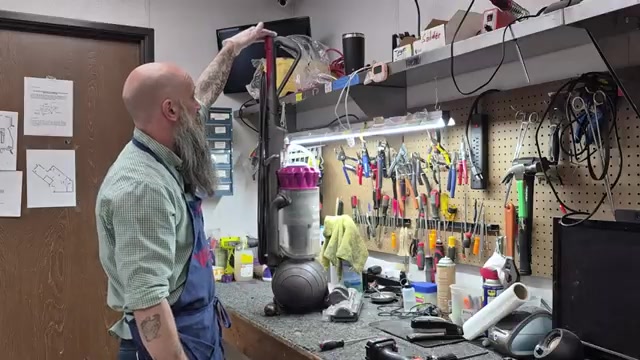
- Plug in the vacuum and turn it on with the machine in the upright position.
- Feel for air coming out of the wand handle at the top.
- Listen to the motor – a suffocating or struggling sound indicates a clog.
Tools Needed
-
Canned air (optional)
- Dowel or long stick (not a coat hanger)
-
Needle-nose pliers
-
Phillips Screwdriver
Check Wand and Hose for Clogs
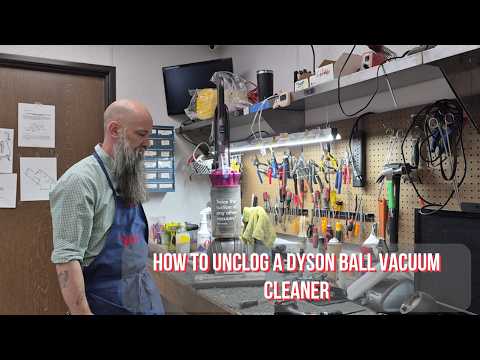
The clog is in the wand or hose system. We'll check both components.
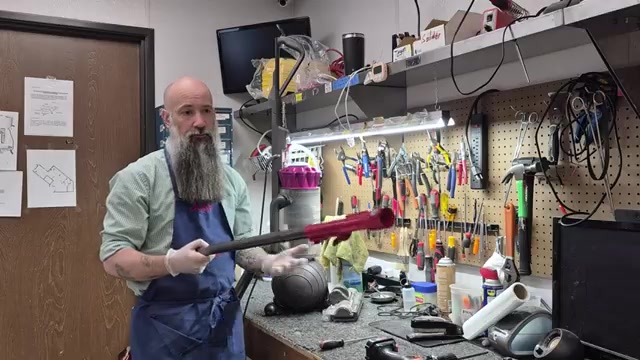
- Remove the entire power cord from the machine.
- Press the button on the back of the hose to release the wand completely.
- Look straight through the wand tube – you should see daylight at the other end.
- If blocked, insert a dowel from the TOP end (opposite from where debris entered) to push the clog out.
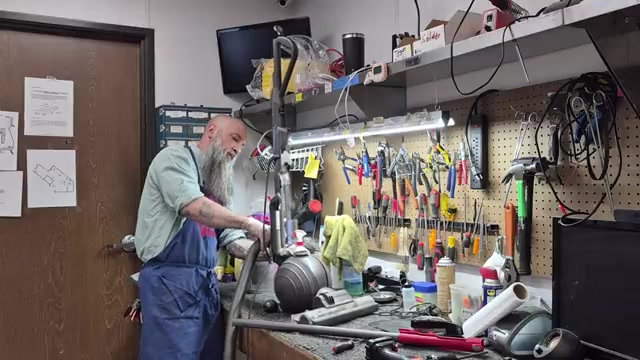
- If the wand is clear but still no suction, press the red or gray tab near the canister base.
- Wiggle and pull the hose out carefully (older machines may stick).
- Look through the hose for blockages.
- If clogged, turn the machine on and place the opposite end of the hose over the suction inlet, then massage the hose to work the clog free.
Tools Needed
-
Canned air (optional)
- Dowel or long stick (not a coat hanger)
-
Needle-nose pliers
-
Phillips Screwdriver
Clog Cleared Successfully
Great! The clog has been removed. Reassemble everything, plug in the vacuum, and test it on a small area to confirm normal suction has returned.
Tools Needed
-
Canned air (optional)
- Dowel or long stick (not a coat hanger)
-
Needle-nose pliers
-
Phillips Screwdriver
Check Canister and Filters
The issue is in the canister system. We'll check the cyclone and filters.
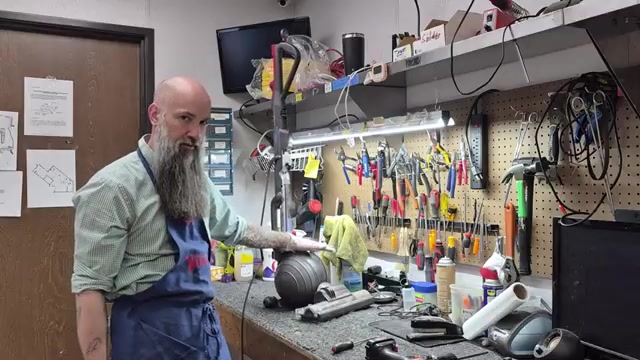
- Remove the canister from the machine.
- Check the pre-motor filter at the top of the canister – if it's completely clogged, replace it.
- Turn the machine on WITHOUT the canister and carefully check for suction at the motor inlet (don't let anything get sucked in).
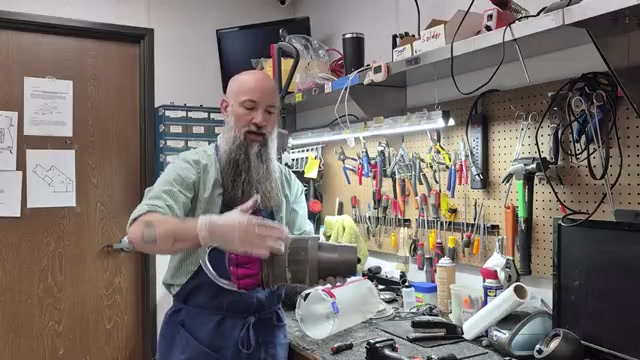
- If there's suction at the motor, press the gray button to remove the entire canister assembly.
- Check for hair wrapped around the mesh screen inside the cyclone.
- Use compressed air outdoors to blow debris out through the ridges between the two rings (wear a mask).
- Reassemble and test the vacuum.
Recommended Products


Tools Needed
-
Canned air (optional)
- Dowel or long stick (not a coat hanger)
-
Needle-nose pliers
-
Phillips Screwdriver
Filter or Cyclone Issue Resolved
The filter cleaning or cyclone maintenance fixed the problem. Your vacuum should now have normal suction.
Tools Needed
-
Canned air (optional)
- Dowel or long stick (not a coat hanger)
-
Needle-nose pliers
-
Phillips Screwdriver
Check Floor Head and Lower Pathways
Suction is good at the wand but not at the floor head. We'll check for clogs in the head assembly and changeover valve.
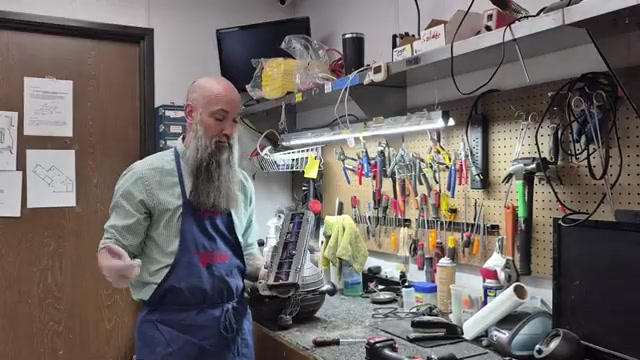
- Verify both brushes are spinning when the machine is reclined and the brush button is on.
- Press the red or gray clip at the neck to remove the entire floor head.
- Look for clogs at the narrow baffle area where the head connects.
- Remove the base plate (turn the two tabs) for better access if needed.
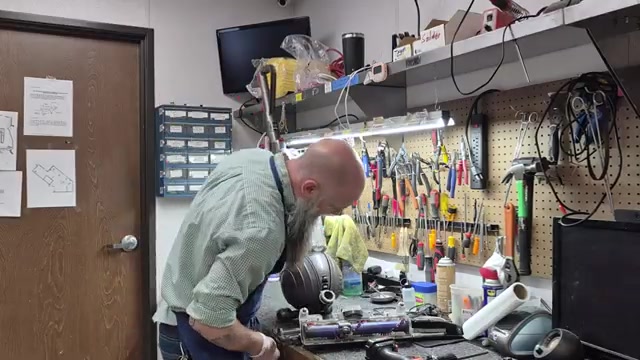
- Check the inlet tube where it curves – popsicle sticks commonly get stuck here.
- Use needle-nose pliers to carefully remove any visible debris.
- Be gentle past the rigid plastic area as there's a delicate hose behind it.
Tools Needed
-
Canned air (optional)
- Dowel or long stick (not a coat hanger)
-
Needle-nose pliers
-
Phillips Screwdriver
Floor Head Clog Cleared
Excellent! The clog in the floor head has been removed. Reattach the head, test the vacuum on carpet to confirm both brushes spin and suction is normal.
Tools Needed
-
Canned air (optional)
- Dowel or long stick (not a coat hanger)
-
Needle-nose pliers
-
Phillips Screwdriver
Check Changeover Valve
The changeover valve redirects airflow between the wand and floor head. Let's check if it's blocked or stuck.
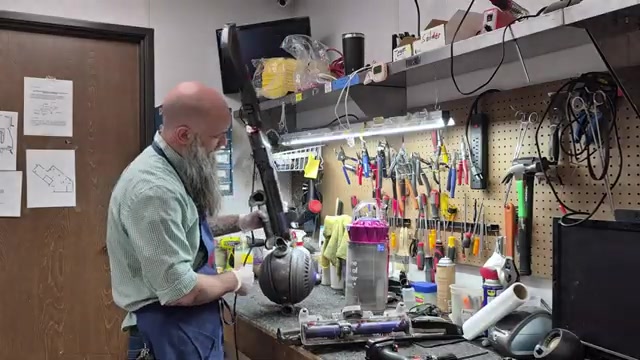
- Remove the canister to expose the small access door.
- Open the access door and look down for popsicle sticks or bobby pins blocking the valve.
- Remove the hose to see from the other side if you can't spot the blockage.
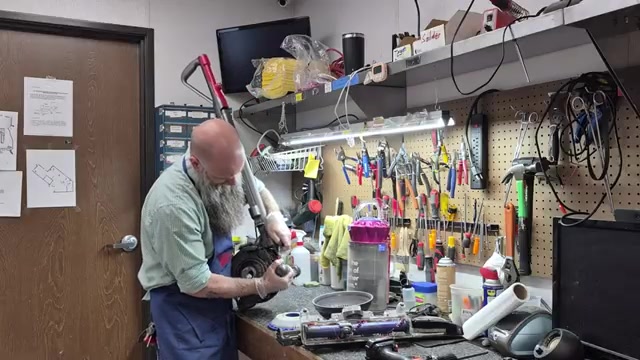
- With the side panel removed, recline and stand the machine while watching the valve.
- The valve should visibly move and the internal hose should switch positions.
- If the valve doesn't fully engage, check again for hidden obstructions.
Tools Needed
-
Canned air (optional)
- Dowel or long stick (not a coat hanger)
-
Needle-nose pliers
-
Phillips Screwdriver
Changeover Valve Cleared
Perfect! The obstruction has been removed from the changeover valve. The vacuum should now work normally in both upright and reclined positions.
Tools Needed
-
Canned air (optional)
- Dowel or long stick (not a coat hanger)
-
Needle-nose pliers
-
Phillips Screwdriver
Changeover Valve Needs Replacement
The changeover valve mechanism is worn out or broken. This is a complex repair requiring parts that may be hard to find. Consider professional repair or replacement of the vacuum, as this involves disassembling the entire lower assembly.
Recommended Products
Tools Needed
-
Canned air (optional)
- Dowel or long stick (not a coat hanger)
-
Needle-nose pliers
-
Phillips Screwdriver
Motor or Final Filter Issue
No suction at the motor inlet indicates a motor failure or severely clogged final filter. The final filter rarely gets this clogged, and if it does, the motor is likely already damaged from debris. This typically requires professional service or vacuum replacement.