
Riccar/Simplicity Canister Won’t Turn On – Advanced Electrical Troubleshooting
Advanced diagnostic guide for Riccar/Simplicity canister vacuums with no power. Involves opening the unit, handling electrical components, and using a multimeter. Should only be attempted by those with electronics knowledge.
Difficulty: Hard
Estimated time: 45 minutes
Step 1
Tools Needed
-
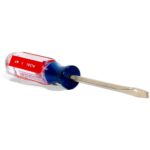
 Flat Screwdriver
 -
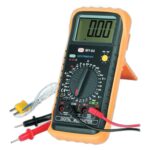
Multimeter
-
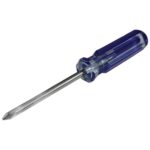
Phillips Screwdriver
Safety Warning and Initial Assessment
WARNING: This is an advanced repair involving electrical components and live voltage testing. Only proceed if you have electronics experience and can safely use a multimeter. Repairs should ideally be performed by authorized technicians. If you start this repair, you must be able to complete it – many shops won't accept partially disassembled units.
- Verify the vacuum is unplugged from wall power.
- Note if the cord retracts properly when you press the cord rewind button – a non-retracting cord may indicate cord reel issues.
- Try pressing the power button on the hose handle to confirm no response.
Tools Needed
-
Flat Screwdriver
-
Multimeter
-
Phillips Screwdriver
Disassemble the Canister

We'll open the unit to access the cord reel, circuit board, and motor for testing. Take photos as you go to help with reassembly.
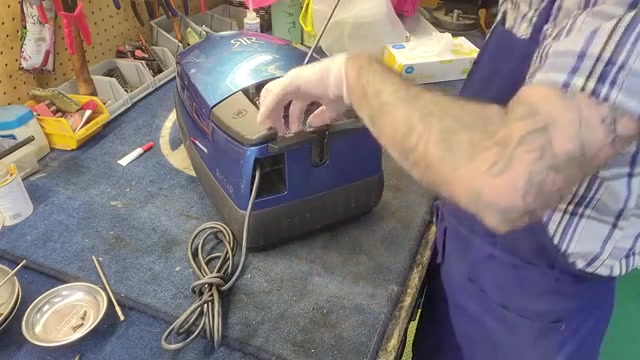
- Remove the dust bag from the canister.
- Pull out the exhaust filter to access screws underneath.
- Remove 4 Phillips screws from the filter housing area.
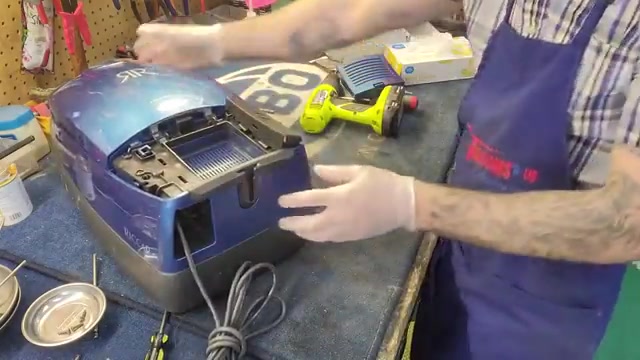
- Use a flat screwdriver to release the two tabs on each power switch button.
- Gently pry and wiggle to pop both switch buttons free – note the spring underneath for reassembly.
- Remove 4 more Phillips screws now visible under the switch area.
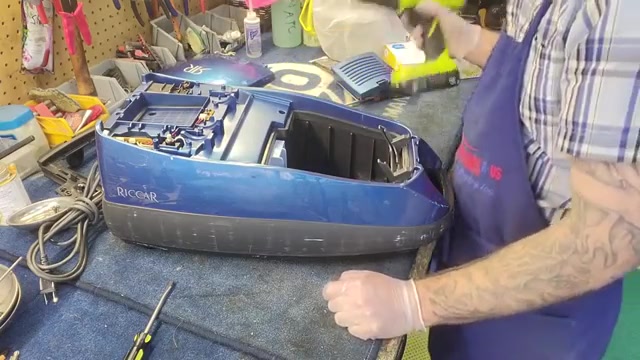
- Unplug the two different-sized connectors from the bag door.
- Remove the bag door and set aside.
- Remove 6 Phillips screws around the top housing perimeter.
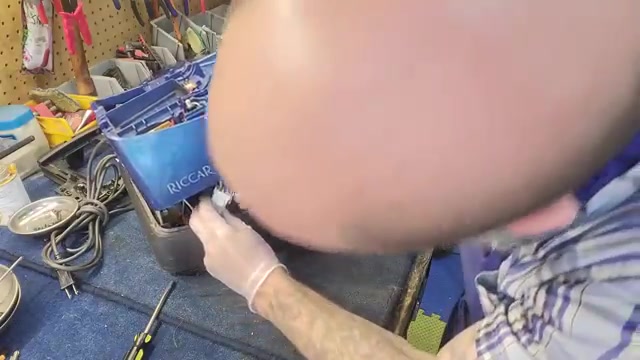
- Carefully lift the top housing.
- Locate and disconnect the large cable loom connector by squeezing and pulling.
- Set the top housing aside, being careful of attached wires.
Tools Needed
-
Flat Screwdriver
-
Multimeter
-
Phillips Screwdriver
Test the Cord Reel for Continuity
First we'll check if power can flow through the cord reel from the wall plug to the internal connections.
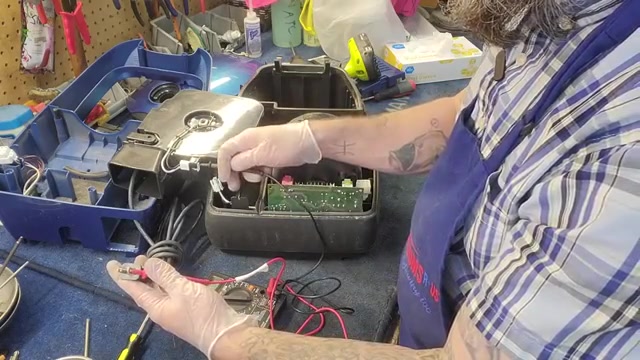
- Lift out the cord reel for easier access.
- Set your multimeter to continuity mode (beep/ohm symbol).
- Touch the multimeter probes together to verify it beeps.
- Place one probe on one prong of the wall plug.
- Touch the other probe to the corresponding wire coming from the cord reel.
- Listen for a beep indicating continuity.
- Repeat for the other prong and wire.
Recommended Products

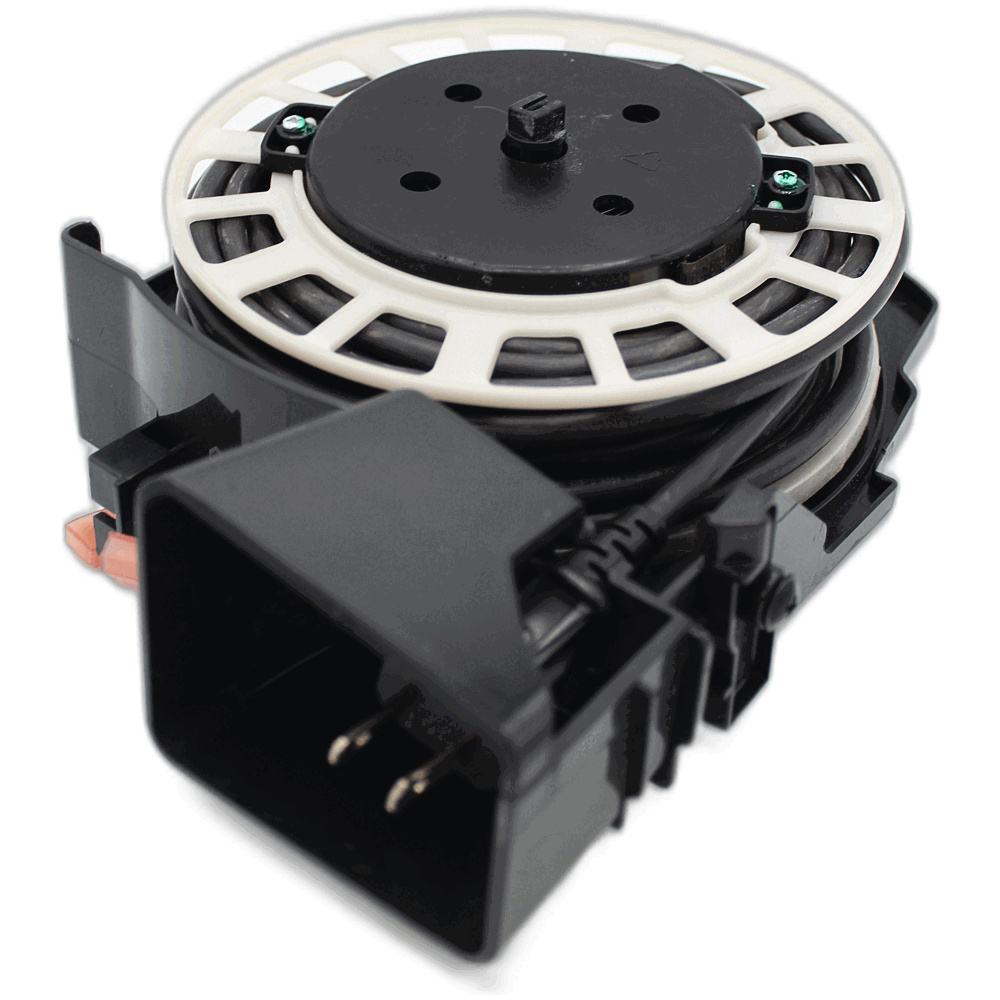
Certified pre owned Cord Reel Assembly for Simplicity Moxie Gusto Immac Impec
Tools Needed
-
Flat Screwdriver
-
Multimeter
-
Phillips Screwdriver
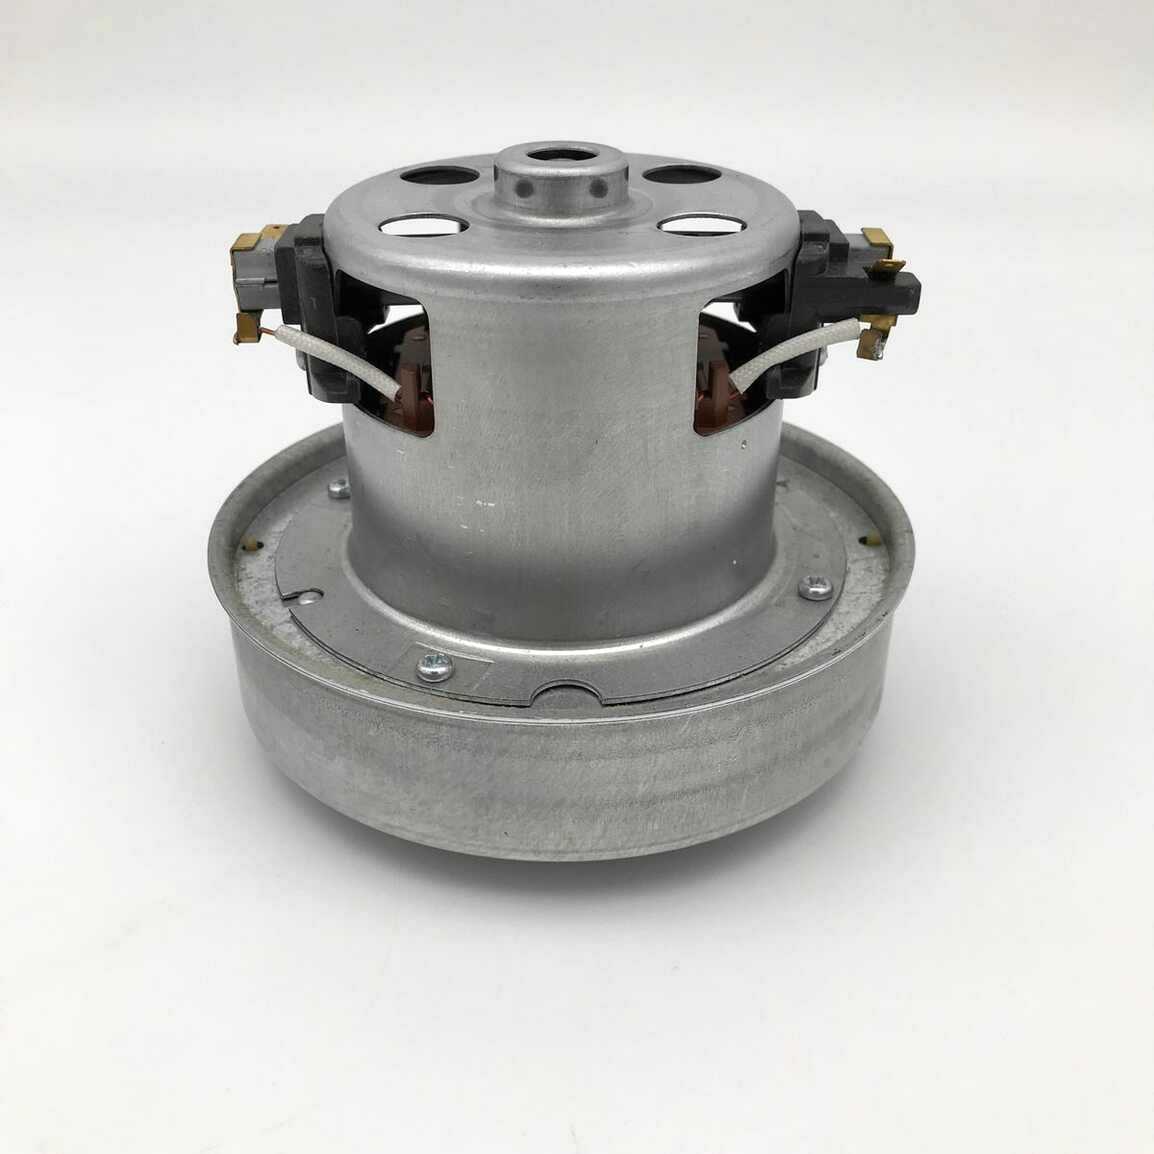
Test the Motor Directly
The cord reel tested good, so now we'll bypass everything and test if the motor itself works. EXTREME CAUTION: This involves live voltage.
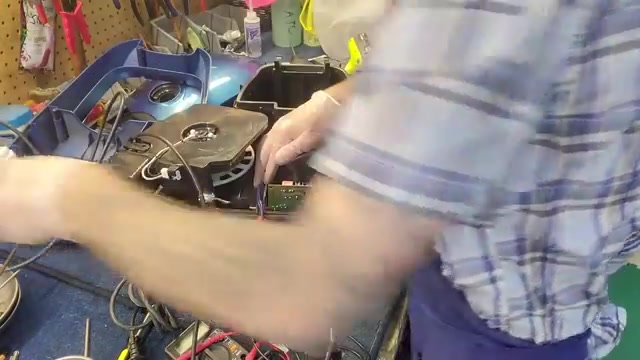
- Locate the two blue wires going directly into the motor.
- Prepare jumper wires with alligator clips (suicide cables).
- Connect the jumper wires to the two blue motor wires, bypassing the thermal sensor.
- Ensure no exposed wires touch the metal housing.
- Hold the motor firmly as it may jump when starting.
- Plug the jumper wires into wall power briefly.
- Listen for the motor to run – it should sound smooth.
- Immediately unplug after confirming motor operation.
Recommended Products
Tools Needed
-
Flat Screwdriver
-
Multimeter
-
Phillips Screwdriver
Test the Circuit Board Connection
Motor and cord reel are good, so the issue is likely the connection between them. We'll test by bypassing the connector.
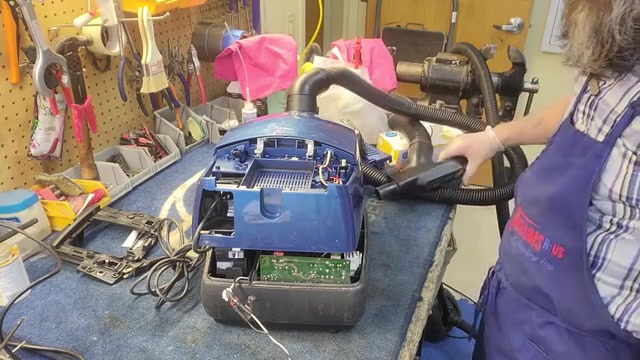
- Partially reassemble: reconnect the main cable loom to the top housing.
- Place the top housing back on (don't screw down yet).
- Connect the hose to test the handle controls.
- Look for burn marks on the connector between cord reel and circuit board.
- Use jumper wires to bypass this burnt connector – connect directly from cord reel wires to circuit board side.
- Plug in and press the power button on the handle.
Tools Needed
-
Flat Screwdriver
-
Multimeter
-
Phillips Screwdriver
Repair the Faulty Connection
The burnt connector is confirmed as the problem. We'll permanently bypass it with a direct wire connection.
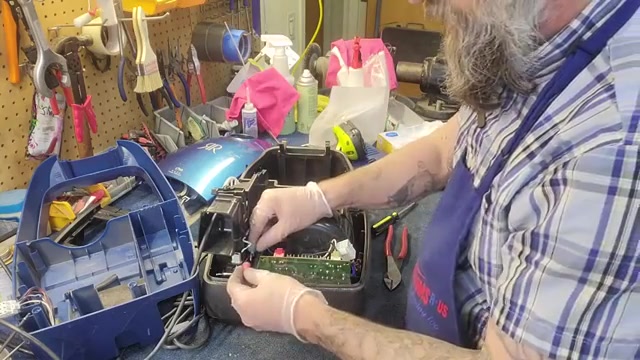
- Unplug the vacuum and remove the test jumpers.
- Cut off the burnt connector from both the cord reel and circuit board wires.
- Strip about 1/2 inch of insulation from all four wire ends.
- Twist matching wires together (cord reel to circuit board side).
- Secure each connection with a small zip tie to relieve strain.
- Cover each connection with a wire nut, twisting firmly.
- Tuck the connections safely into the motor bucket area.
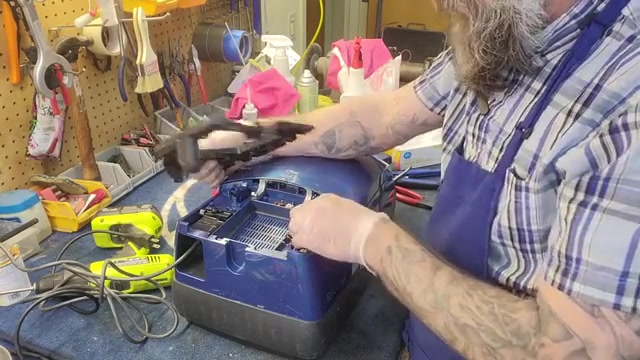
- Reconnect all cable connectors.
- Replace the top housing, being gentle with screws to avoid cracking plastic.
- Reinstall all Phillips screws around the perimeter.
- Replace the filter housing plate and its 4 screws.
- Snap the power button switches back in place, ensuring the spring is positioned correctly.
- Reinstall the exhaust filter and dust bag.
- Plug in and test all functions.
Tools Needed
-
Flat Screwdriver
-
Multimeter
-
Phillips Screwdriver
Component Replacement Required
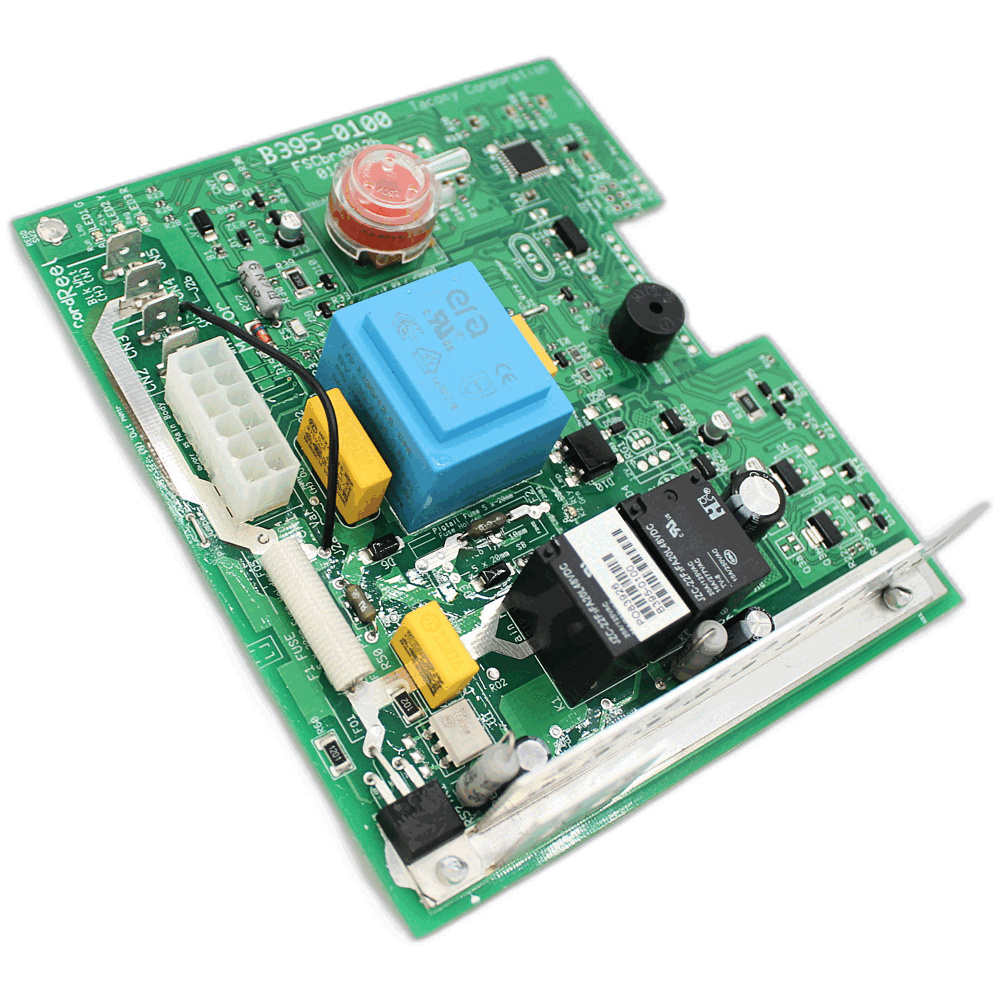
Testing indicates a faulty component that needs replacement. For these older discontinued models, parts availability is limited. The hose/circuit board must be replaced as a matched set due to compatibility issues. Contact a Riccar dealer to check parts availability, or consider a replacement vacuum if parts cannot be sourced.
Recommended Products
Certified pre owned Cord Reel Assembly for Simplicity Moxie Gusto Immac Impec

Tools Needed
-
Flat Screwdriver
-
Multimeter
-
Phillips Screwdriver
Professional Service Recommended
This repair requires advanced electrical skills and safety knowledge. Please take your vacuum to an authorized Riccar/Simplicity dealer for professional diagnosis and repair.
Tools Needed
-
Flat Screwdriver
-
Multimeter
-
Phillips Screwdriver
Plastic Component Damage
These older models have brittle plastic that can break during disassembly. If critical mounting points are broken, the housing may not reassemble securely. You can attempt to continue with fewer mounting screws, but be aware the unit may not hold together properly. Consider professional help or replacement if multiple mounting points are damaged.
Some parts may be available for your model here https://www.vacuumsrus.com/Schematics/brand/riccar/
Tools Needed
-
Flat Screwdriver
-
Multimeter
-
Phillips Screwdriver
Repair Successful
Your vacuum is working properly again. The faulty connector has been bypassed with a permanent direct connection. Note that future cord reel replacements will require cutting these wire connections. Test all functions before returning to regular use.