
Fix Upper Thread Tension Issues on Baby Lock Sewing Machine
Diagnose and fix erratic or loose tension on the bottom side of fabric by cleaning lint and thread from the upper tension mechanism.
Difficulty: Medium
Estimated time: 10 minutes
Step 1
Tools Needed
-
 Canned air (optional)
 -
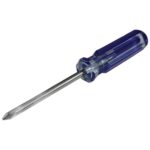
Phillips Screwdriver
-
Straight pin or needle
-
Thread snips
-
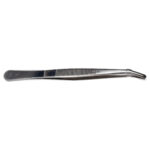
Tweezers


Check for Tension Issues
Is the tension on the bottom side of your fabric loose or erratic?
Tools Needed
-
Canned air (optional)
-
Phillips Screwdriver
-
Straight pin or needle
-
Thread snips
-
Tweezers
Access and Clean the Tension Mechanism
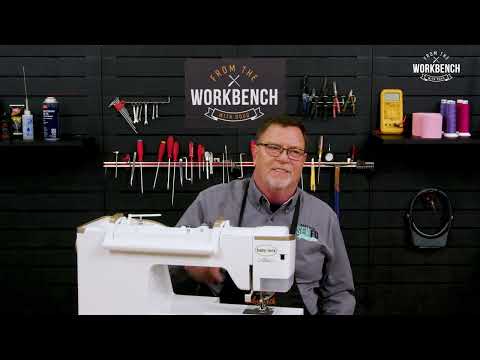
The issue is likely lint, fuzz, or thread lodged in the upper tension area. We'll access and clean it, then test.
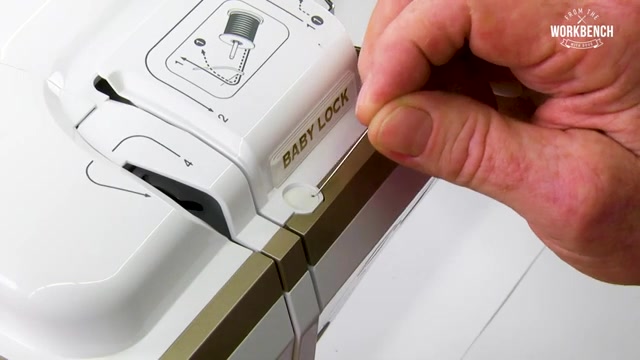
- Turn off the power switch on your machine.
- Locate the small cap covering the locking screw near the tension area.
- Insert a straight pin or needle through the hole in the cap.
- Lift the cap up and away to expose the Phillips screw.
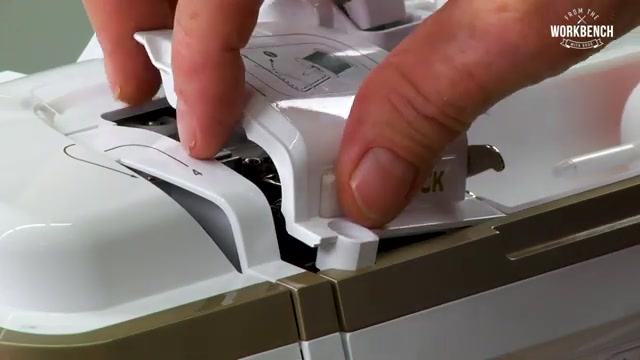
- Using a Phillips screwdriver (preferably magnetized #2), remove the screw from the top.
- Lift from the back of the cover gently, angle it up, and slide it off to the side to expose the automatic tension system.
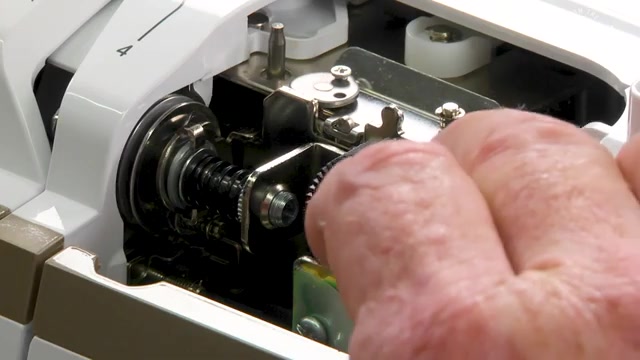
- Rotate the tension mechanism counterclockwise to lift and open the tension discs.
- Look for any threads caught in the tension discs or pre-tension plate.
- Use tweezers to remove any visible threads or lint.
- If using canned air, hold the can upright and give a light spray between the tension discs to clear debris.
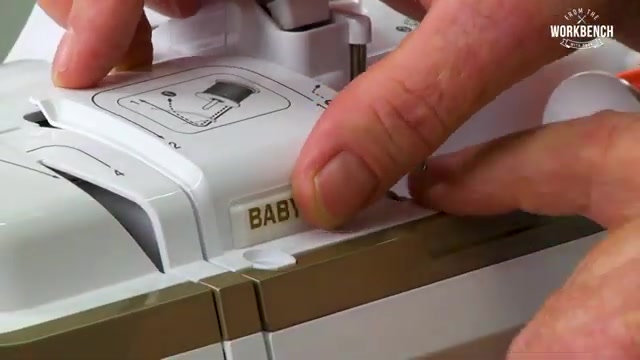
- Position the cover back, angling the small notch on the front to fit into the opening.
- Let the back of the cover sit into place.
- Reinstall the Phillips screw from the top.
- Position the cap back over the screw, using a pin in the hole to help angle it flat as you snap it into place.
- Thread your machine with test thread.
- Run a test stitch on a scrap piece of fabric to check if the bottom tension is now correct.
Tools Needed
-
Canned air (optional)
-
Phillips Screwdriver
-
Straight pin or needle
-
Thread snips
-
Tweezers
Issue Resolved
Great! The tension cleaning resolved the issue. Your machine should now produce balanced stitches. Remember to have your machine serviced annually at your local Baby Lock retailer for optimal performance.
Tools Needed
-
Canned air (optional)
-
Phillips Screwdriver
-
Straight pin or needle
-
Thread snips
-
Tweezers
Check Thread Path
Since cleaning didn't resolve it, verify your thread path. Is your thread correctly threaded through all guides, tension discs, and take-up lever in the proper sequence?
Tools Needed
-
Canned air (optional)
-
Phillips Screwdriver
-
Straight pin or needle
-
Thread snips
-
Tweezers
Professional Service Needed
The tension issue appears to be beyond basic maintenance. Your automatic tension motor or internal mechanisms may need professional adjustment. Take your machine to your local Baby Lock retailer for service.
Tools Needed
-
Canned air (optional)
-
Phillips Screwdriver
-
Straight pin or needle
-
Thread snips
-
Tweezers
No Action Needed
Your tension appears to be working correctly. If you experience issues in the future, return to this guide to clean the tension mechanism.
Tools Needed
-
Canned air (optional)
-
Phillips Screwdriver
-
Straight pin or needle
-
Thread snips
-
Tweezers
Rethread and Test
Incorrect threading can cause tension issues. We'll rethread completely and test.
- Remove the thread completely from the machine.
- Raise the presser foot to open the tension discs.
- Following your machine's threading diagram, rethread from spool to needle, ensuring thread passes through all guides, the pre-tension area, main tension discs, and take-up lever.
- Lower the presser foot and test on scrap fabric.