
Troubleshooting Sewing Machine Error Codes
Diagnose and resolve common sewing machine error messages including threading errors, needle jams, and needle plate issues
Difficulty: Easy
Estimated time: 10 minutes
Step 1
Identify Your Error Code
Which type of error message are you seeing on your sewing machine?
Fix Threading Error
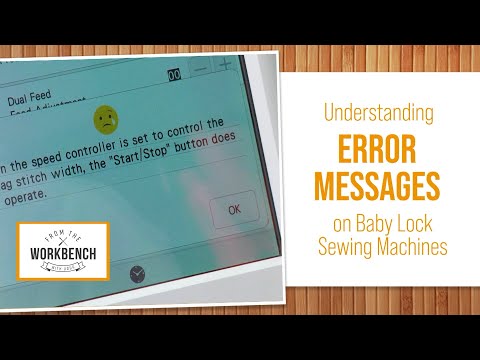
The machine detected improper threading. We'll re-thread with proper technique and test.
- Press the needle up/down button so the needle stops in the highest position.
- Ensure the presser foot is raised to the up position.
- Remove any existing thread from the machine.
- Thread the machine from the beginning, following your threading guide.
- Be careful not to bump or turn the hand wheel during threading.
- Activate the needle threader lever to complete threading.
- Lower the presser foot and test sew on scrap fabric.
Clear Needle Jam or Binding
The safety system detected a jam. We'll check for tangles in the bobbin area and ensure everything moves freely.
- Turn off and unplug the machine.
- Remove the needle plate by loosening both screws.
- Remove the needle plate cover (plastic piece).
- Lift out the bobbin case and check for tangled thread underneath.
- Remove any thread tangles or lint from the bobbin area.
- Rotate the hand wheel to ensure it turns freely without binding.
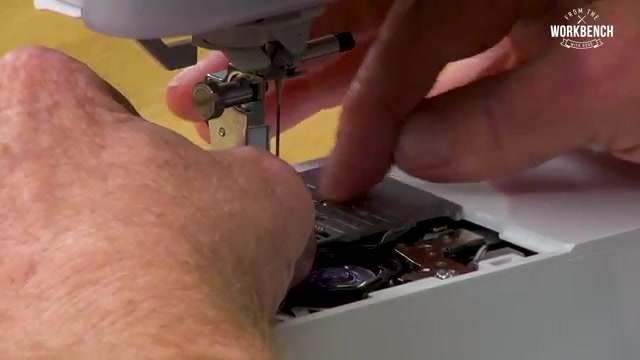
- Reinstall the bobbin case, ensuring it rotates into the correct position.
- Replace the needle plate, pressing down while tightening screws alternately.
- Snap the needle plate cover back into place until it clicks.
- Check that the needle is pushed fully up into the needle bar and tightened.
- Plug in, turn on, and test sew on scrap fabric.
Fix Needle Plate Detection Issue
The machine can't detect the needle plate or cover properly. We'll reseat these components to restore the safety switches.
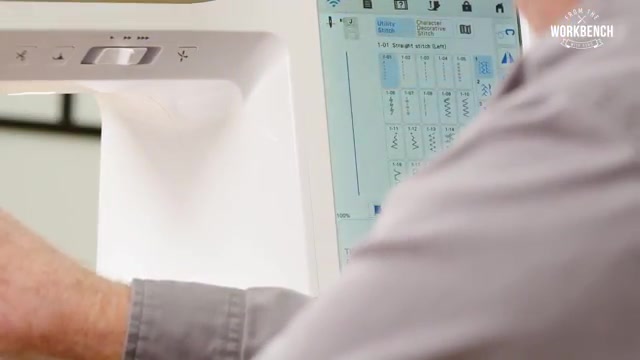
- Check if the needle plate cover (clear plastic piece) is fully snapped into place.
- If loose, remove it completely then firmly press it back until you hear a click.
- Look for a small tab on the corner of the cover that must align with the switch.
- If the error persists, turn off the machine and remove both needle plate screws.
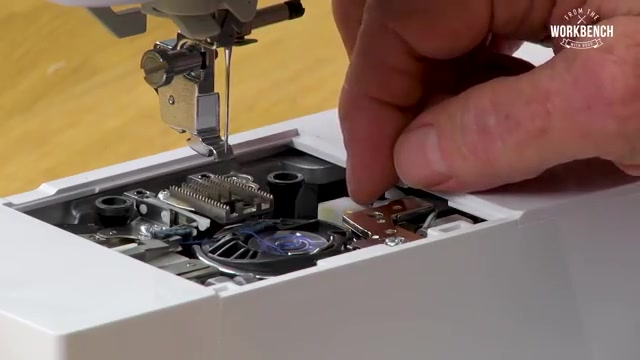
- Lift off the needle plate and check for a small toggle switch on the right side.
- Ensure the switch moves freely and isn't damaged or bent.
- Replace the needle plate, pressing down while installing to engage the switch.
- Tighten screws alternately, not one completely then the other.
- Snap the needle plate cover firmly into place and test the machine.
Resolve Width Controller Conflict
When width control is active, the start/stop button is disabled for safety. We'll adjust the settings.
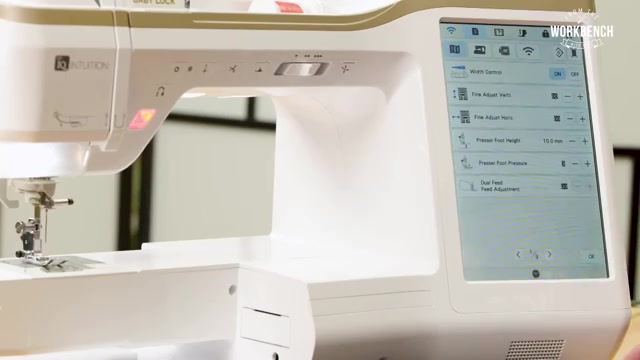
- Press OK or Clear on the error message.
- Navigate to your machine's control settings menu.
- Find the Width Controller setting (often on page 1 of settings).
- Turn the Width Controller setting to OFF.
- Verify the start/stop button light is now green instead of red.
- Test the machine using either the start/stop button or foot pedal.
Issue Resolved
Great! Your sewing machine is working properly again. Remember to maintain your machine regularly by cleaning the bobbin area and checking that needles are properly installed.
Try Another Solution
This error can have multiple causes. Return to the beginning to try troubleshooting a different error code, or continue to professional service if you've tried all applicable solutions.
Professional Service Required
The issue appears to be an internal binding or damaged component that requires professional repair. Take your machine to an authorized service center for inspection and repair.