How to Use Fusible Embroidery Stabilizer: A Step-by-Step Guide
Embroidery is a timeless craft that allows you to infuse creativity and personalization into fabric projects. Whether you’re a beginner or an experienced embroiderer, one essential tool you’ll need in your embroidery toolkit is a fusible embroidery stabilizer. This versatile material helps you achieve crisp, professional-looking embroidery designs on a wide range of fabrics. In this comprehensive guide, we’ll explore what fusible embroidery stabilizer is, why it’s essential, and how to use it effectively for your embroidery projects.
What is Fusible Embroidery Stabilizer?
Fusible embroidery stabilizer, often referred to simply as stabilizer, is a specialized material used to provide support and structure to fabric during the embroidery process. It prevents the fabric from puckering, stretching, or distorting while the design is stitched onto it. Stabilizers come in various types and weights, each designed for specific embroidery tasks. The key feature of fusible stabilizers is that they have an adhesive backing that adheres to the fabric when heat is applied, making it easier to work with.
Why Use Fusible Embroidery Stabilizer?
- Prevents Fabric Distortion: Fusible stabilizer ensures that your fabric remains flat and stable during the embroidery process, preventing any distortion that may occur due to the stitches’ tension.
- Enhances Design Precision: Using stabilizer allows for more intricate and precise embroidery designs, ensuring that the stitches stay in place and don’t sink into the fabric.
- Supports Delicate Fabrics: It’s especially helpful when working with delicate or stretchy fabrics, such as silk, satin, or knits, as it prevents them from stretching or tearing.
- Easy to Remove: After completing the embroidery, most fusible stabilizers are designed to be easily removed by tearing or dissolving in water, leaving your project clean and ready to use.
Types of Fusible Stabilizers:
Types of Fusible Stabilizers:
There are various types of fusible embroidery stabilizers available, each tailored to different embroidery techniques and fabric types:
- Tear-Away Stabilizers: Ideal for stable and non-stretchy fabrics. They are torn away after embroidery, leaving the stitches intact.
- Cut-Away Stabilizers: Suitable for stretchy or delicate fabrics that need long-term stability. They are trimmed away from the fabric after embroidery.
- Wash-Away Stabilizers: Perfect for projects like freestanding lace or designs that require the stabilizer to be completely removed. They dissolve in water, leaving no trace behind.
- Heat-Away Stabilizers: These stabilizers disappear when heat is applied, making them an excellent choice for projects that can’t be washed.
How to Use Fusible Embroidery Stabilizer:
Now, let’s dive into the step-by-step process of using fusible embroidery stabilizer:
Materials You’ll Need:
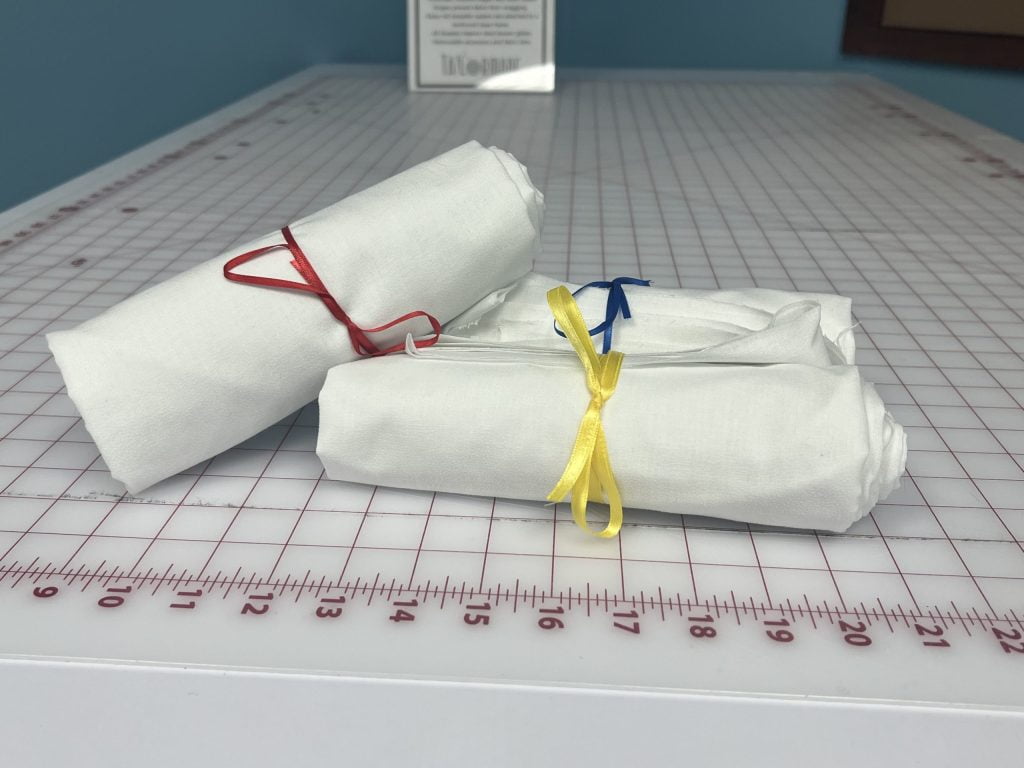
– Fusible embroidery stabilizer (appropriate type for your project)
– Fabric for embroidery
– Embroidery machine and design
– An iron
– An ironing board or pressing surface
– Scissors
Step 1: Prepare Your Fabric:
Begin by cutting your fabric to the desired size for your embroidery project. Ensure it’s clean and free of wrinkles.
Step 2: Choose the Right Stabilizer:
Select the appropriate type of fusible stabilizer based on your fabric and design. Tear-away or cut-away stabilizers are commonly used for most projects.
Step 3: Hoop Your Fabric:
Place your fabric in the embroidery hoop, ensuring it’s taut but not stretched. This will help you achieve accurate embroidery results.
Step 4: Apply the Fusible Stabilizer:
Cut a piece of fusible stabilizer slightly larger than the hoop and place it on the wrong side (back) of the fabric, adhesive side down. Ensure it covers the entire area to be embroidered.
Step 5: Fuse the Stabilizer:
Place a pressing cloth or a piece of scrap fabric over the stabilizer to protect your iron. Set your iron to the appropriate temperature for the fabric you’re using and press it over the stabilizer for a few seconds. The heat will activate the adhesive, adhering the stabilizer to the fabric.
Step 6: Embroider Your Design:
Load your design onto the embroidery machine and embroider it onto your fabric. The stabilizer will provide support throughout the stitching process.
Step 7: Remove Excess Stabilizer:
After completing the embroidery, carefully trim away any excess stabilizer from the fabric. Be sure not to cut the fabric itself.
Step 8: Finish Your Project:
Your embroidery is now complete! If you used a tear-away or cut-away stabilizer, you can tear or cut it away from the fabric, leaving your project clean and ready to use. If you used a wash-away or heat-away stabilizer, follow the manufacturer’s instructions to remove it.
Mastering the art of fusible embroidery stabilizer is essential for achieving professional-looking embroidery results. By choosing the right type of stabilizer for your project, properly fusing it to your fabric, and following the embroidery process, you can create stunning and long-lasting embroidered designs on various fabrics. With practice and experimentation, you’ll become a skilled embroiderer who can tackle a wide range of projects with confidence.