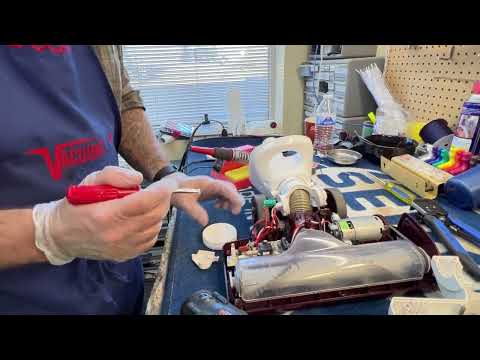
Step 1: Preparation
Ensure the Shark vacuum is turned off and unplugged from the power source before attempting any repairs. This is crucial for your safety during the replacement process.
Step 2: Accessing the Lower Hose
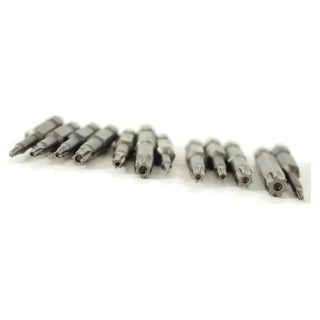
Locate the lower hose on your Shark vacuum. Depending on the model, it may be located on the bottom or rear of the vacuum. Once identified, use a screwdriver to remove any screws securing the lower hose in place. Most Shark vacuum cleaners use Torx bits (star shaped bits) or Security bits (star shaped bits with a locking pin). You can find those here.
Step 3: Detaching the Old Lower Hose
Carefully detach the old lower hose from the vacuum. This may require some twisting and pulling, so be gentle to avoid causing damage to other components. Inspect the hose for any signs of damage or clogs, as this is an opportune time to address these issues.
Step 4: Installing the Replacement Hose
Take the replacement lower hose and carefully attach it to the vacuum in the same manner the old hose was connected. Ensure that it is securely in place, and if applicable, reattach any hose attachments. You will also have to glue the new lower hose into the fitting and let it dry. The glue used for this can be found here.
Step 5: Securing the New Hose
Use the screwdriver to reinsert and tighten the screws that secure the lower hose in place. This step is crucial for the stability and proper functioning of the vacuum.
Step 6: Checking for Leaks
Once the replacement is complete, inspect the vacuum for any potential leaks or loose connections. Turn on the vacuum and test it to ensure that the suction is consistent and that there are no unusual sounds.
Step 7: Final Steps
Wipe down the vacuum with a clean cloth or towel to remove any dust or debris that may have accumulated during the replacement process. Store the old lower hose or dispose of it responsibly.
Conclusion:
Replacing the lower hose in your Shark vacuum is a manageable task that can significantly extend the life of your appliance. By following these step-by-step instructions, you can ensure a successful replacement, restoring your vacuum’s optimal performance and maintaining a clean and healthy living space. Shark vacuum repair can be tough, or sometimes even impossible, but we try our best to keep these out of landfills and working properly.