Step 1: Preparation
Ensure that your Riccar or Simplicity vacuum is turned off and unplugged from the power source to ensure your safety during the replacement process.
Step 2: Accessing the Brush Strips
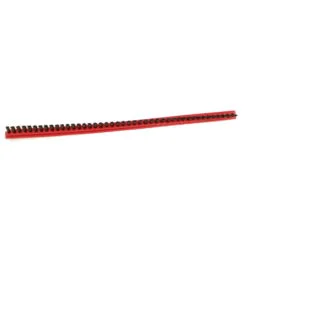
Locate the brush strips on the underside of your Riccar vacuum. They are typically positioned in a row, parallel to each other, around the rotating brush. Use a screwdriver to remove any screws or clips securing the brush end caps in place.
Step 3: Removing the Old Brush Strips
Using a pair of pliers or your fingers, slide the old brush strips from their housing. Take note of the orientation and arrangement of the brush strips for easy installation of the replacements.
Step 4: Cleaning the Brush Housing
Before installing the new brush strips, take a moment to clean the brush housing. Remove any accumulated debris, hair, or dust that may have collected in this area. A clean brush roll ensures optimal performance from the new brush strips.
Step 5: Installing the Replacement Brush Strips
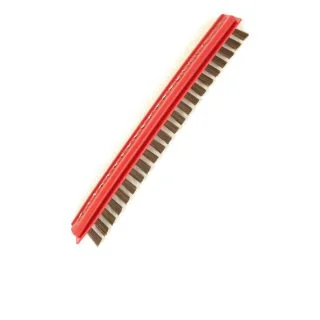
Unpack the replacement brush strips and align them with the slots or grooves in the brush housing. Slide them firmly to secure them in place, ensuring that they are evenly spaced and properly seated.
Step 6: Securing the Brush Cover
Carefully reposition the brush end caps over the brush roll. Use the screwdriver to reinsert and tighten any screws or clips that secure the cover in place. This step is essential to maintain the alignment and stability of the brush strips during operation.
Step 7: Testing the Vacuum
Plug in your Riccar, Simplicity, or CleanMax vacuum, turn it on, and test the brush strips on various surfaces. Ensure that they rotate smoothly and make proper contact with the floor. Listen for any unusual sounds that might indicate misalignment.
Step 8: Final Steps
Wipe down the vacuum with a clean cloth or towel to remove any residual dust or debris. Dispose of the old brush strips responsibly, and store any remaining replacement strips for future use.
Conclusion:
By following these simple steps, you can successfully replace the brush strips on your Riccar vacuum, ensuring that it continues to deliver optimal cleaning performance. Regular maintenance, including the replacement of worn components, is key to prolonging the life of your vacuum and keeping your living spaces clean and healthy.