How to Replace a Hall Sensor on a Riccar Tandem Air Vacuum
How to Fix Riccar or Simplicity R40 S40 Vacuum Cleaner Brush Roll Not Spinning
The Hall Sensor within Riccar or Simplicity vacuum cleaners serves as a pivotal element tasked with identifying the rotation of the brush roll. Its crucial function becomes evident when the brush roll encounters an obstruction or ceases to spin, as the Hall Sensor plays a vital role in automatically shutting off the machine to avert potential damage. Should you observe inaccuracies in your vacuum’s detection of brush roll motion, it could indicate the need to replace the Hall Sensor. This comprehensive guide will lead you through the step-by-step process of replacing the Hall Sensor in Riccar or Simplicity vacuum cleaners.
Models this article is relevant to include:
R40.LE, R40, R40.2, R40P.LE, R40P, R40P.2, R40P.4, R40P.6,S40, S40.2, S40P.LE, S40P, S40P.2.
Hall Sensor Replacement on Riccar and Simplicity Vacuums
- Replacement Hall Sensor (compatible with Riccar R40)
- Phillips screwdriver
- Flathead screwdriver
- Needle-nose pliers
- Work surface or clean area
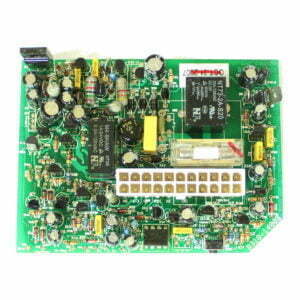
Below you can find the hall sensor for the repair in question along with some other parts that you may need. This hall sensor is for Riccar and Simplicity vacuum cleaners.
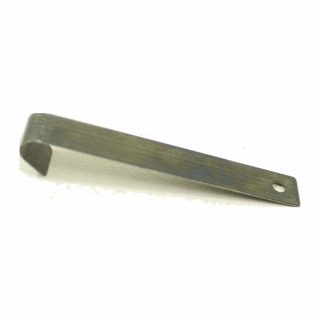
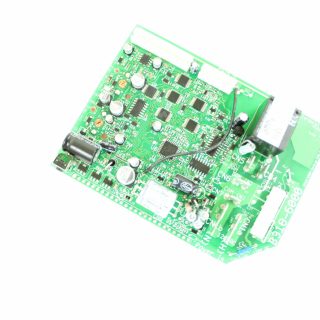

If the parts listed are not correct for your model, click here to be directed to our schematics / parts list page where you can search your Riccar or Simplicity model to find the right parts that you need.
Below is a full video tutorial with our authorized Riccar, Simplicity, and CleanMax technician where he shows you how to complete this repair.
Fixing a Riccar or Simplicity R40 S40 Hall Sensor Step-by-step Guide
Step 1: Prepare Your Workspace
Before initiating the replacement procedure, make certain that your vacuum is disconnected from the power source. Position the vacuum on a tidy and steady work surface with convenient access to its underside.
Step 2: Identify the Brush Roll and Hall Sensor
Locate the brush roll and its corresponding Hall Sensor. Typically situated near the brush roll, the Hall Sensor may be fastened with screws or clips.
Step 3: Remove the Screws Securing the Brush Roll Cover
Using a Phillips screwdriver, delicately remove the screws securing the brush roll cover. Place the screws in a small container to avoid misplacing them.
Step 4: Access the Hall Sensor
After removing the brush roll cover, clear access to the Hall Sensor is granted. Observe its placement and take note of its attachment to the vacuum.
Step 5: Disconnect Wires (If Applicable)
In certain models, the Hall Sensor may be linked to the vacuum’s wiring system. If so, use needle-nose pliers to carefully disconnect any wires. Label or note the wire colors for reassembly.
Step 6: Remove the Old Hall Sensor
If the Hall Sensor is secured with screws or clips, use the appropriate tools to disengage them. Lift or slide out the old Hall Sensor with caution, avoiding damage to surrounding components.
Step 7: Install the Replacement Hall Sensor
Take the replacement Hall Sensor and align it with the mounting points on the vacuum. Secure it in place using the screws or clips previously removed.
Step 8: Reconnect Wires (If Applicable)
If wires were disconnected, reattach them to the corresponding terminals on the new Hall Sensor. Ensure a secure connection for proper functionality.
Step 9: Reassemble the Vacuum
Position the brush roll cover back in place and secure it with the previously set-aside screws. Tighten the screws adequately, avoiding over-tightening to prevent damage.
Step 10: Test the Vacuum
Plug in the vacuum and power it on to confirm the proper functioning of the replacement Hall Sensor. Test the vacuum on different surfaces to verify that the brush roll engages and disengages as intended.
Conclusion:
Replacing the Hall Sensor in your Riccar or Simplicity vacuum is a task that can restore accurate brush roll motion detection, ensuring the vacuum’s effective operation. Regular maintenance and timely replacement of faulty components contribute to the longevity and reliable performance of your vacuum cleaner. If you encounter challenges or are uncertain about any step, consult your vacuum’s user manual or seek professional assistance. Regular inspections and necessary repairs will maintain your vacuum’s smooth operation for years to come.