Kirby vacuums are renowned for their powerful suction and durability. However, like any other vacuum cleaner, their belts eventually wear out and need to be replaced. Fortunately, changing the belt on a Kirby vacuum is a straightforward process that can be accomplished with just a few tools and some basic know-how. In this article, we will guide you through the process of changing the belt on Kirby vacuums, specifically the Sentria, G Series, and Avalir models.
Our Video Guide for Changing Your Kirby Belt
Step 1: Gather Your Tools
Before you start, you will need a few tools to complete the job. These include:
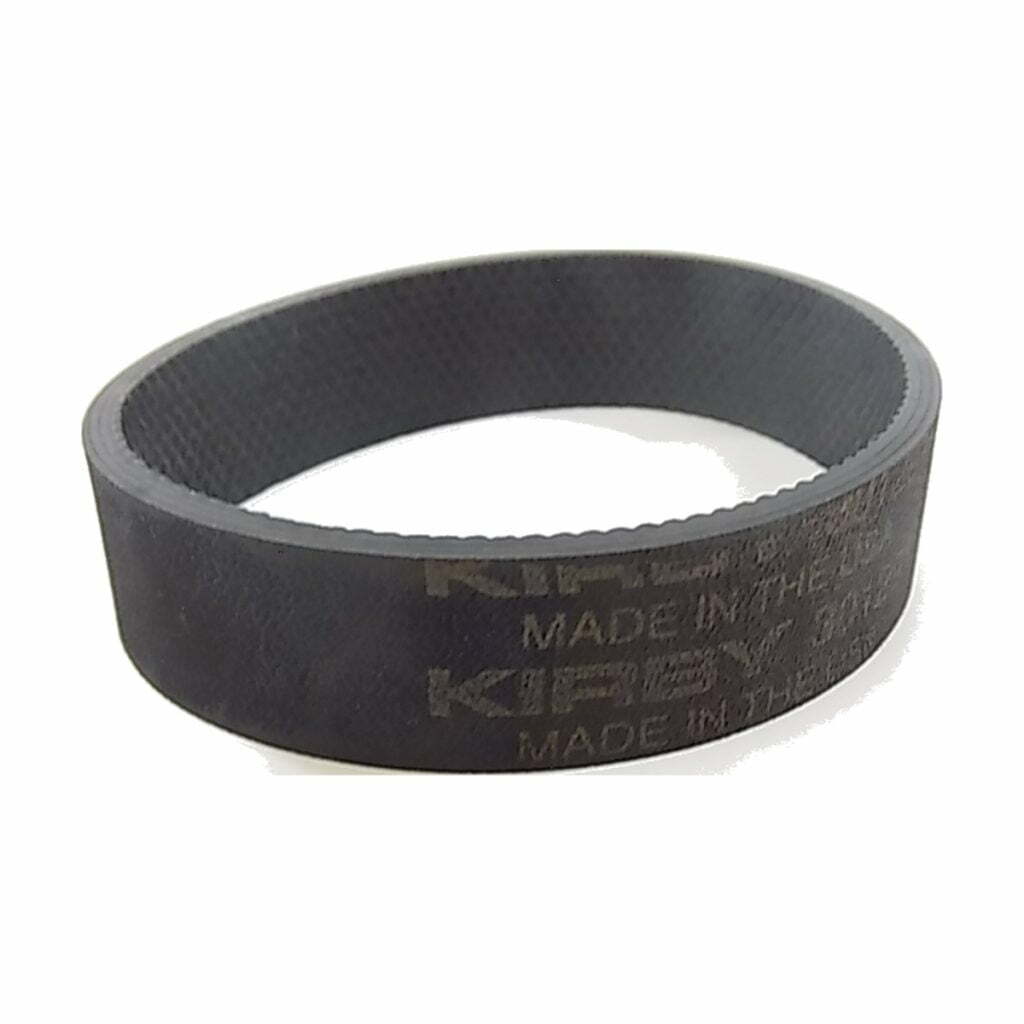
- A new Kirby vacuum belt
- A pair of pliers in case your end caps are tough to remove
- A sharp object to remove any hair that is around your brush roll
You can purchase a Kirby vacuum belt at any Kirby dealer or online. It’s important to get the correct size and type of belt for your model. The belt that we have listed below works with nearly every Kirby vacuum cleaner including all Sentria models, all G Series, and Avalir I and II.
Step 2: Turn Off and Unplug the Vacuum
Make sure your Kirby vacuum is turned off and unplugged before you start working on it. This will prevent any accidents and ensure your safety.
Step 3: Remove the Nozzle and Brush Roll
Kirby vacuums use a lever that holds the power nozzle onto the rest of the vacuum cleaner. Simply turn the lever to the side and unlatch the nozzle from the rest of the vacuum. After that, you will see two hooks that attach the base plate to the nozzle. Turn those to unhook the base plate, then remove the base plate from the vacuum.
Next, remove the brush roll by pulling it straight out. If the brush roll is stuck, you can use pliers to help remove it. Be careful not to damage the bristles. While the brush roller is out, you should take apart the end caps to ensure there are no debris that could melt your bearings. This is smart preventative maintenance that will make your brush roll last longer and save you some time and money.
Step 4: Replace the Belt
With the brush roll removed, you can now replace the belt. Start by placing the brush roll back into the vacuum, making sure it’s seated correctly and reinstall the base plate. Once that is complete, simply slip the new belt over the center of the brush roll and use the turn dial to spin the belt upwards. To see an example, watch our video above.
Step 5: Reassemble the Vacuum
Once the new belt is in place, it’s time to reassemble the vacuum. Replace the nozzle and secure it with the hooks and lever. This will keep the nozzle in place while you finish the belt installation.
After the nozzle is back on the vacuum, spin the turn dial to place the belt on the Kirby motor shaft.
Step 6: Test the Vacuum
With the vacuum reassembled, it’s time to test it out. Plug in the vacuum and turn it on. Make sure the brush roll is spinning and the suction is strong. If everything is working properly, you’re good to go!
Changing the belt on Kirby vacuums is a simple process that can be done in just a few minutes. With the right tools and a little bit of know-how, you can keep your Kirby vacuum running smoothly for years to come. By following these steps, you’ll be able to change the belt on your Kirby Sentria, G Series, or Avalir with ease.