Central Vacuum Installation Services in Boulder
A central vacuum system makes cleaning a lot easier and bearable. It’s a blessing for those messy after-party cleaning sessions that leave you questioning your sanity. Central vacuum systems have become such a hit in recent years that it’s now considered a necessity instead of a luxury by most homeowners.
True, a portable vacuum cleaner can also get the job done. But it doesn’t offer the ease of access, power, and efficiency a central vacuum system offers. Imagine the work you have to put into dragging a portable vacuum throughout the house. It’s exhausting just thinking about it. Especially if you’ve got a large area to cover. But it doesn’t have to be so, because with a central vacuum system it’s just a matter of connecting a hose and flipping a switch.
Luckily central vacuum installations are quite affordable. That is if you pick an experienced and reliable central vacuum service center. If you are looking for Central Vacuum Installation and Repair Services in Boulder, we at Vacuums R Us & Sewing Too – Boulder Store are more than happy to offer you our services. We’ve worked with Central Vacuum systems for over 18 years, so you can rest assured that you are in excellent hands. From regular homes to businesses, we’ve taken on central vacuum installation projects that were deemed impossible. Therefore, we are certain that our specialist would have no trouble installing a central vacuum system for you.
What makes our central vacuum installation process stand out from the rest is its methodical approach. By being methodical, our specialists overlook nothing and also make sure they keep costs to a minimum.
This article will give you a sneak peek at our process. But before diving into it, you need to know how a central vacuum system works.
Contact us to schedule a house call (303) 455-3096
A Quick Look At How A Central Vacuum System Works
A central vacuum system is simply a “massive vacuum” built into a building. It can be accessed from strategically placed wall outlets that span across an establishment. It’s a lot easier to have a central vacuum system built in during construction because the pipe and ductwork are much more accessible. But if you missed that chance, you needn’t worry, as you can still have it installed even after completion.
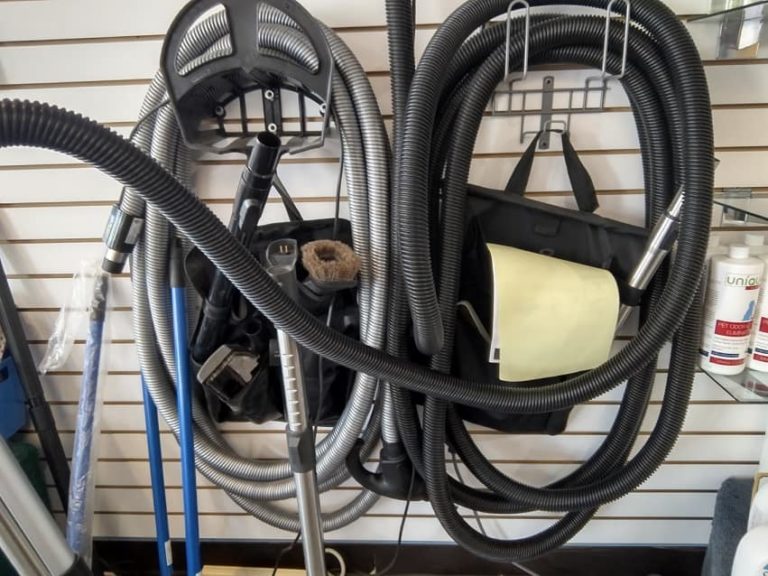
A central vacuum system has many parts. They work in unison to provide optimum suction power and efficient energy consumption. Any issue with these components will lead to a bad cleaning experience. So, if you need the best results from a central vacuum system, you need to make sure that the installation is done right.
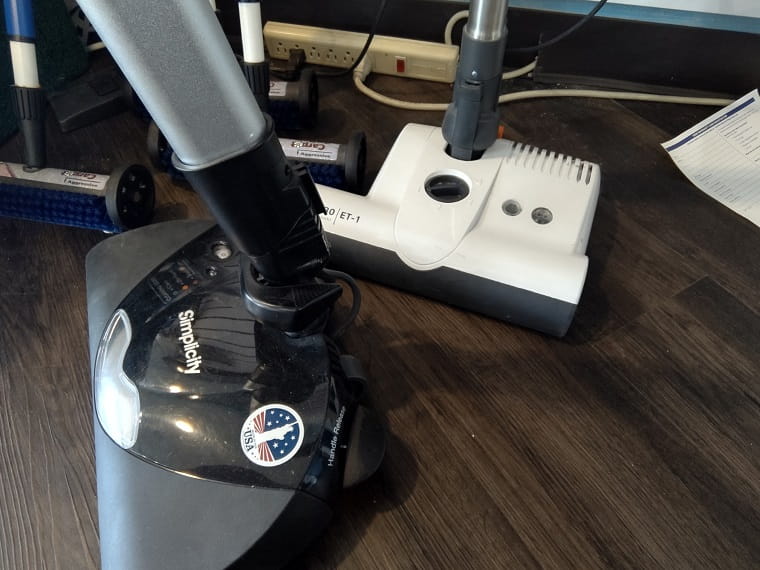
Out of all the parts of the system, the central vacuum unit is the most important. The central vacuum unit is at the center of the whole design and powers up the entire system. All pipes from the wall outlets in different rooms lead to the central vacuum unit.
Out of all the parts of the system, the central vacuum unit is the most important. The central vacuum unit is at the center of the whole design and powers up the entire system. All pipes from the wall outlets in different rooms lead to the central vacuum unit.
Bonus Fact- The central vacuum unit is sometimes also referred to as the primary unit or the power unit by technicians.
It is usually installed in a basement, garage, or storage room and sometimes has a separate space built for it. Most central vacuum units have four suction outlets, although many homes only use one or two of them. All the dirt, dust, and debris vacuumed are directed straight to a collector tank. These tanks are sealed, preventing the collected dust and dirt from re-entering living space.
A central vacuum installation requires a bit of wiring as well. The wiring is responsible for relaying signals to the control module of the central vacuum unit. These wires are the reason you can switch on the vacuum system by flipping a switch, making life a lot simpler. Therefore, it’s crucial to get the wiring done right, just like the piping, when installing a central vacuum.
Although brief, this quick overlook on how a central vacuum functions will help you better understand the installation process, we at Vacuums R Us & Sewing Too – Boulder Store follow.
Our Central Vacuum Installation Process
Although the central vacuum system’s performance is our top priority, we at Vacuums R Us & Sewing Too – Boulder Store also try our best to cut down costs. Excessive wall outlets and needless piping can add to a hefty bill and also lead to extra work. It will also ultimately affect the vacuum’s operations. Therefore, the first step of our central vacuum installation process is planning.