M.D Central Vacuum Repairs And Installations In Boulder
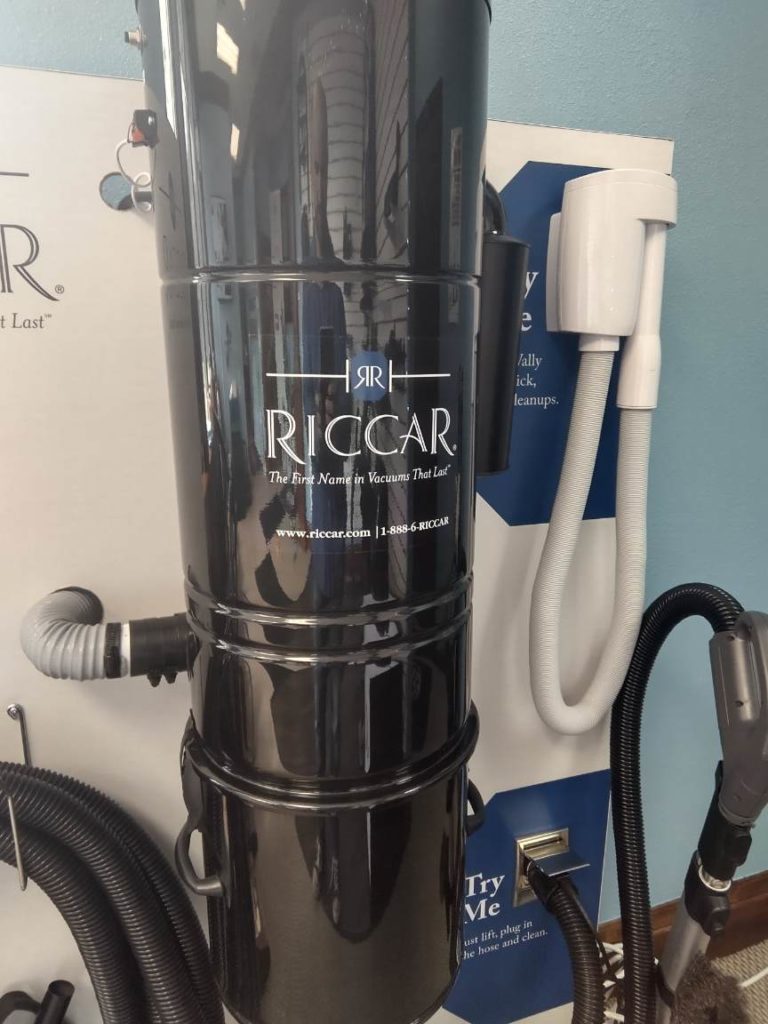
Over 50 years in business, M.D Manufacturing has truly mastered the craft of producing high-performing central vacuums. They’ve managed to become one of the most commonly used units in many American households and also stay relevant all this time.
The key to their success can be narrowed down to the state-of-the-art technology they used to produce their central vacuums. Plus, none of their units is an eyesore like so many other models in the market.
Despite its high-tech origins, M.D Central Vacuums, just like any other model, work best only when installed right. Badly run pipes and messy wiring will have the unit underperforming leading to poor results. Bad installations can also lead to unwanted repairs. And even damage the whole central unit beyond repair. So, to get the best out of your M.D central vacuum, you need to get the installation perfect. And the best way to do it is to employ a team of skilled central vacuum technicians.
This is where we at Vacuums R Us & Sewing Too–Boulder Store come in. With over 18 years of experience under our belt, we’ve had the pleasure of installing many central vacuums in Boulder. From simple assignments to jobs that had us scratching our heads, the number of installation projects we’ve undertaken to date is innumerable. And we are proud to say that none of them were jobs we couldn’t handle. So the odds of us messing up your M.D vacuum installation are pretty low. Well, zero if you ask us, but that’s just us being bold.
Nevertheless, we also carry out central vacuum repairs, which give us knowledge of how the system actually works. This gives us the edge in finding any errors within the installation.
One major reason for our success, however, is the structured approach we take during central vacuum repairs and installations. It’s an approach that’s been developed through countless trials and errors. And we are about to share it with you right now.
Contact us to schedule a house call (303) 455-3096
How We Install A M.D Central Vacuum
An M.D Central Vacuums installation largely depends on the establishment. However, the steps listed below outline what we do during the installation process.
Marking Routes
Regardless of the project at hand, our technicians start the installation process by inspecting the building. This helps them to come up with the most efficient routes to run the pipes and wires later on.
At this stage, they also record the area each room in the establishment offers. It allows them to plan inlets strategically so that each corner of a room can be easily vacuumed. Further, pre-planning inlets cut down costs significantly as each extra inlet requires additional pipes and wires. It also saves the frustration of not being able to vacuum the corners of a room just because the vacuum hose isn’t long enough.
Apart from inlet placement, our experts pay attention to other existing installations. Cutting into the pipes and wires of these installations is a possibility when installing your M.D central vacuum. So, a thorough inspection will make sure that we don’t trade your HVAC system for the central vacuum.
Cutting Out Inlets
Once we are satisfied with the planning, we then proceed to install the inlets. These inlets will either be placed on the walls or the floor depending on coverage. Although it’s ideal to have one inlet per room, that just might not be enough sometimes. So, with the help of a bit of math involving area and the hose length, we determine the type and number of inlets each space requires. When installing the inlets, our experts first trace the bracket on the floor/walls before they cut out openings. They use a variety of tools during the process so that no damage occurs to construction. Once an inlet is cut open, they usually leave a marker by drilling below it. The marker acts as an indicator when installing the pipes and wires. Trust us when we say this, getting lost within the walls is nerve-wracking.Running The Pipes And Wires
After installing the inlets, our techs work on the wiring and piping of the system. As this is the most crucial part of the installation process, they pay special attention at this stage. Any issue here will lead to an underperforming M.D Central Vacuum. And rectifying the problem will require a great deal of work involving a total system inspection. Therefore, to save you and us from the trouble, our technicians take a methodical approach when installing the pipes and wires. Although it may take time, this ensures that no detail is overlooked. Using the previously placed markers as indicators, our professionals draw the wires and pipes through the empty spaces within the walls. They use different techniques and tools such as stud finders to find these empty spaces. During the installation, our techs also make sure that the wires don’t run along sharp edges. Wires that run over burrs usually split, leading to issues with power flow issues in the long run.Mounting The Central Unit
While running the pipes and wires, we also start installing the M.D central unit. Typically, the central unit is installed at the lower levels of an establishment. This is to prevent it from working against gravity, which helps save energy. The exact location is, however, predetermined in the planning stage. All the wires and pipes end up connecting to the central unit here. Although the wires are quite simple to connect, the pipes might need a few alterations before being connected to the suction inlet of the unit. Often, the incoming pipes are connected using “T-joints” before being directed to the central vacuum. After we are done installing the system, we carry out a series of tests to make sure that the whole installation works as intended. The suction power, pipes, and wiring are again examined before concluding our installation process.A Peek At Our MD Central Vacuum Repair Process
Similar to our installation process, we take a systematic approach when repairing and maintaining central vacuums as well.Initial Evaluation
Before diving under the covers of the central unit, we start the repair process with a quick test run. The test run allows us to determine the problems the central vac has and how well the installation works. We note down the current status of the machine and use the information at the last stage to determine if it was a successful repair session. Simply, this trial run acts as a baseline to track our progress.Power Flow Analysis
Once our techs are done with the initial check-up, they inspect the wiring of the installation. They examine it in every room and work their way towards the central unit. After confirming that the external power flow is continuous, they review the internal electronics of the central vacuum. From the power transformer to the relays, every electrical component of the device is tested. Our skilled technicians use an assortment of tools like voltmeters and ammeters to determine if the system runs under normal conditions. Excessive current within the unit can fry the circuitry, which will lead to costly replacements. A scheduled maintenance session once every six months can help you avoid such a situation. All issues our experts come across at this stage are fixed ASAP, as proceeding any further with power flow issues can prove fatal for the machine.
Motor Inspection
The central vacuums motor is the heart of the entire installation. It gets the air moving. So, a faulty motor will cause your central vac to fall short in performance.
Troubles with the motor are inevitable. It’s a rotating machine, therefore, it will eventually be subjected to wear and tear. Often, most motor troubles result from its worn-off brushes, which a quick replacement can fix. However, at times, the issue can be found within the motor coils or rotor. It would then require a more precise and technical approach. But it won’t be anything our qualified techs can’t fix.
Fixing Leaks And Clogs
After resolving the circuitry issues, we next move on to tackling problems related to the pipes. The two common pipe-related issues we see are leaks and clogs. They are both equally important to be dealt with as they severely decrease the performance of your unit.
However, they are quite difficult to identify, especially if it’s a complex installation. So we use a list of techniques to get the job done.
We use the soap bubble test or ultrasonic/helium leak detectors to identify leaks along the pipes. Any leaks found are then fixed. To figure out existing clogs, we introduce numbered styrofoam balls into the system through the inlets. We then count them at the central unit to identify the pipeline that has a clog. The techniques used, however, depend solely on the complexity of the installation.
Once we are done with each step, we perform the last test run. We compare the current system to the baseline we established at the start, and hand over the central vac back to you if we find everything to be satisfactory.
This was just a summary of what we at Vacuums R Us & Sewing Too–Boulder Store do to install and repair M. D central vacuums. A lot more effort and finesse go into the process, so including everything in one article is next to impossible. But hopefully, you understood how we treat central vacuums in our care. If you too would like to get your central vacuum installed or repaired flawlessly, don’t hesitate to contact us. We are more than happy to offer you our expertise.