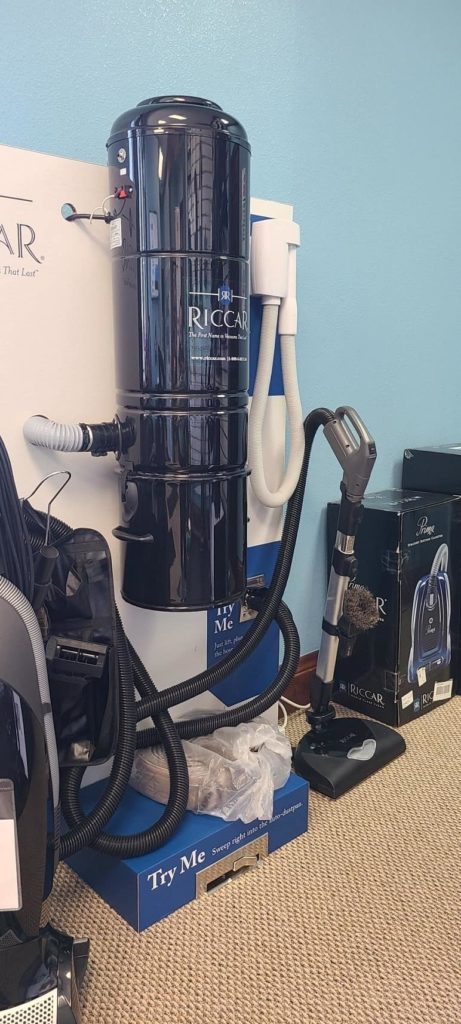
Beam Central Vacuum Repairs and Installation in Boulder
If we were to list out the top 10 central vacuum brands out there, Beam for sure will make the top 3. Its family of central vacuums is not just innovative but is a work of art design-wise. Currently, Beam boasts three classes of central vacuums, each with a unique trait of its own.
Regardless of its capabilities, however, you get the best out of a central vacuum only if you install it right. Messy piping, wiring issues, and leaks are all going to hamper its performance leading to an ineffective central vacuum system. So getting your beam central vacuum installed right should be your top priority.
Unless you are a skilled technician, your best bet to get the installation right would be to employ a reliable Central Vacuum installation service. And that’s where we at Vacuums R Us & Sewing Too–Boulder Store comes in. We’ve been installing central vacuums for over 18 years, so you can expect flawless execution. We’ve also had our fair share of countless near-impossible installation projects. Therefore, it’s quite rare we run into a job we can’t handle.
Apart from installations, we carry out central vacuum repairs as well. We know all the ins and outs of a system and will have your central vac purring within a day or two.
While our team of trained technicians is the reason for our success over the years, the methodical strategy we apply in our projects deserves part of the credit as well. And a peek at this strategy is what you will get from this article.
To make things simple we’ve divided the read into two parts so that you will get an idea of how our technicians at boulder carry out their work. Further, we will only focus on Beam Central Vacuums.
Contact us to schedule a house call (303) 455-3096
Our Beam central Vacuum Installation Strategy
Let’s look at how our in-house specialist would go about getting a Beam central vacuum installed.
Planning
Every successful project requires a plan, and installing a central vacuum is no different. So our techs will first survey the establishment and determine how the system will be installed. Any building plans you might possess are appreciated at this stage. They do a building inspection to determine other prevailing installations such as wiring and gas lines as well. This allows them to map out the best workable route to run pipes and drag wires.
Also, a well-planned installation cuts down costs significantly. While coming up with the plan, our specialists also take future maintenance and repair sessions into account. This is because a complex installation is so much harder to maintain. We’ve carried out central vacuum repairs on systems that looked like mazes and they were no fun at all. So it’s always beneficial to plan ahead.
Inlet Placement
During the planning sessions, we pay special attention to the inlet placement. Inlets are quite important as they are what connect the rooms to the central vacuum unit.
Despite what most people think, placing many inlets is not ideal. The more inlets you place, the more the cost of the installation rises. Conversely, the fewer inlets you place, the higher the chances of you not reaching the corners of a room. So nailing down the perfect number of inlets is crucial. It requires a bit of math involving the length of your hose and the area of the room.
Once the inlet positions are determined, we start installing them. Usually, we trace out its position and cut into the wall to make an opening. We also drill the floorboard right below it and leave a drill bit or piece of cloth in it. This acts as a marker that allows us to draw the wires and run the pipes easily later on.
Central Vacuum Unit Installation
Along with the inlet installation, our techs will also start fixing the central vacuum unit. Usually, central vacuum units are installed in the lowest room of an establishment. This is because it saves energy to vacuum towards a lower point as there’s no resistance from gravity. So it’s common to install the central unit in a basement.
The position, however, depends on how the wires and pipes come into the room. The incoming pipes are joined using a “Sweep T” or T-joint before connecting to the suction inlet of the unit. Most households only require one or two suction inlets of the vacuum unit.
While fitting the central unit, our specialists will also install a separate exhaust system if required. These exhaust systems are directed outdoors.
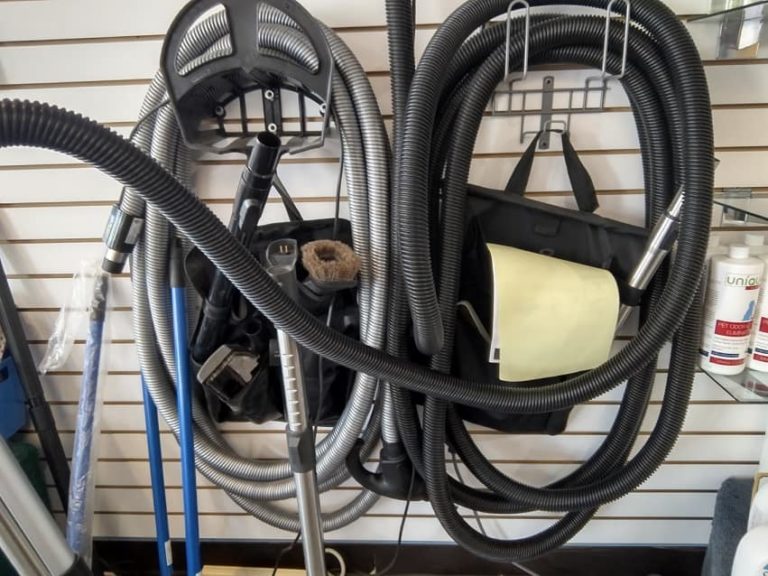
Wiring, Pipes, And Ducts
Using the markers placed before as indicators, our experts will start running the pipes, wires, and ducts throughout the household. This is probably the most painstaking part of the process. It requires a couple of skilled hands and a cool head because one wrong turn within the walls and you are going to end up against a dead end.
Our techs use a variety of tools and techniques such as stud finders to get the installation right. They also try their best to remove any burrs they find, especially when drawing the wires. Burrs and sharp edges lead to split wires which will affect the performance of the system. Once everything is fixed in place, we power up the system and carry out a top-to-bottom inspection to avoid any oversights.
How we repair a Beam Central Vacuum
Now that you know a bit about our installation process, let’s have a look at what we do with your beam central vacuum during repairs.
A Test Run To Start
We start the beam central vacuum repair session, or any other central vacuum for that matter, by a trial run. This test run helps us figure out the issues with the machine. It also is a reference point we use for comparison when the repair process is over. During this run, we also inspect the inlets, wiring, and pipes for any visible issues.
Resolve Power Issues
After the trial run, we work on any power-related issues the central unit might have. Two of the most common power-related issues are ~ the vacuum not switching on and the vacuum staying on. The vacuum not switching on is usually related to wiring or a dead motor. If it’s a wiring issue, we inspect the system for split wires. Any split wires found are then spliced. Apart from split wires, we will also examine your home’s power distribution box for faulty MCBs.
On the other hand, issues such as the vacuum unit staying on are associated with defective circuit boards. This will require a more precise approach as circuit boards are quite tricky. One slight mistake and you might end up frying it.
While restoring power we will mostly focus on the unit’s transformer and relay. The transformer adjusts voltage levels while the relays manage the signals. Any issue with either of these components will affect the vacuum’s performance.
Solve Motor Trouble
The central vacuums motor is the centerpiece of the entire system. It’s what gets the ball rolling. Any issue with it will lead to malfunctions. So our specialists take special care when dealing with it.
From the brushes to the coils, they do a thorough inspection during the central vacuum repair process. Most issues with the motor result from worn-off brushes. So if you are lucky you would only have to replace them to get the machine huffing and puffing again. But if it is not, you might need a motor replacement.
Leaks And Clogs
Once our technicians are done solving problems with the central vacuum unit, they check the pipes for clogs and leaks.
Leaks cause dust and dirt particles to re-enter living spaces. Therefore, they defeat the purpose of a central vacuum. So, getting rid of these leaks is vital, although quite difficult. Our specialists use several methods to get the job done. However, the most common is the soap bubble test. But in more severe cases they might resort to using ultrasonic and helium leak detectors.
Similar to leaks, clogs are also quite hard to get rid of. Especially if the clog is at the center of the system. One technique our techs use to solve this issue is the numbered styrofoam ball method. They introduce a bunch of numbered styrofoam balls into the system via the inlets and then count them at the central unit. The missing balls will narrow down the location of the clog, which saves them from the trouble of inspecting all the pipes.
Another Test Run To End
Once we are satisfied with the repairs, we test the entire system one last time. During this final inspection, we re-examine the pipework, wiring, and central unit to make sure that we left out nothing. The current status of the system will also be evaluated against the data of the initial test run. And if everything is in order, we hand back your central vacuum system good as new.
That pretty much summarizes the steps we at Vacuums R Us & Sewing Too–Boulder Store take when installing or repairing your Beam central vacuum. Although not detailed, we hope you understood our process. We pride ourselves on being methodical and leaving nothing to chance. And that we think is the secret for long-lasting central vacuum repairs and installations.